I envision this post to be the first in a series to describe our process for making the leap to purchasing a vacation property and ultimately building a beach home from the ground up. It’s no doubt a scary venture, with a lot on the line. I figure reading about our successes and mistakes might help a few people venture into vacation home dreams of their own.
I had been half joking with my husband for several years, whenever he would ask me what I wanted for my Birthday, Christmas, etc. I’d always reply, “A beach house.” Hah, funny, right…. I knew I’d never wake up to a house with a big bow on it like those silly Lexus commercials (don’t you hate those people on those commercials even though you know it’s not real?) Anyway, in saying that I wanted a beach house as a gift, I really meant that I wanted us to save money and forego trivial gifts and really sock away some savings so someday we really could buy that beach house.
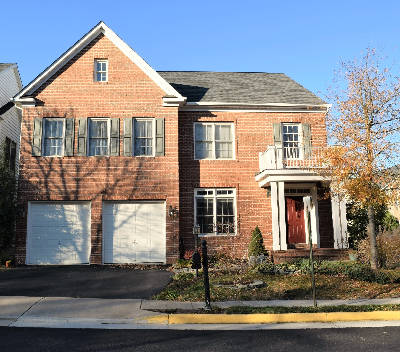
On a (sort-of) whim, one winter, I started searching on realtor.com. Initially our plan was NOT to build a brand-new house but find a home that needed a little bit of cosmetic work, which many beach rentals do, and fix it up. Cause, ya know, we fancy ourselves pretty handy. We had been traveling to the Outer Banks of North Carolina for several years and renting homes for a week for summer vacation. Over the course of my childhood I had spent time in other beach locations like Virginia, Maryland and Delaware beaches and the Jersey shore …yes that’s really what it’s called, it’s not the “beach” it’s the “shore” and if you say it with a Jersey accent it’s even more accurate… and if you refer to OBX as the “shore” people look at you like you have three heads. Of all of those places I loved OBX the most and it was a manageable 4 hour drive from our home in VA. So I found a house I liked and I promptly contacted the realtor. This is the house that drove me to start our search in earnest – adorable, right?
Okay, here’s recommendation #1, don’t do what I did, and call the realtor who lists the house you may want to buy, because if you make this person your agent, they are then working for both sides. We were lucky because in our case it worked out because the seller wasn’t willing to negotiate as much as we’d have liked and I was hell bent on getting a good deal (that was a high priority of ours) but we did find a good agent in the process and he showed us a number of places in a whirlwind rainy weekend). Finding someone who is willing to roll up their sleeves and dedicate a whole weekend to you is a pretty big deal because if you’re looking for a vacation property that is several hours from your home you want to be efficient with your time and not do multiple trips back and forth. Working with a realtor that is local to where you want to buy is really important. They know the area, and will know what areas work best for rentals as well as what home elements will help return on investment potential. And although your realtor will hopefully have lots of info for you don’t forget to do research on your own. We did and it came in really handy when it came time to negotiate (more on that in a later installment). In fact, when we started our vacation home search I was dead set on buying in the quaint town of Duck, pictured below.
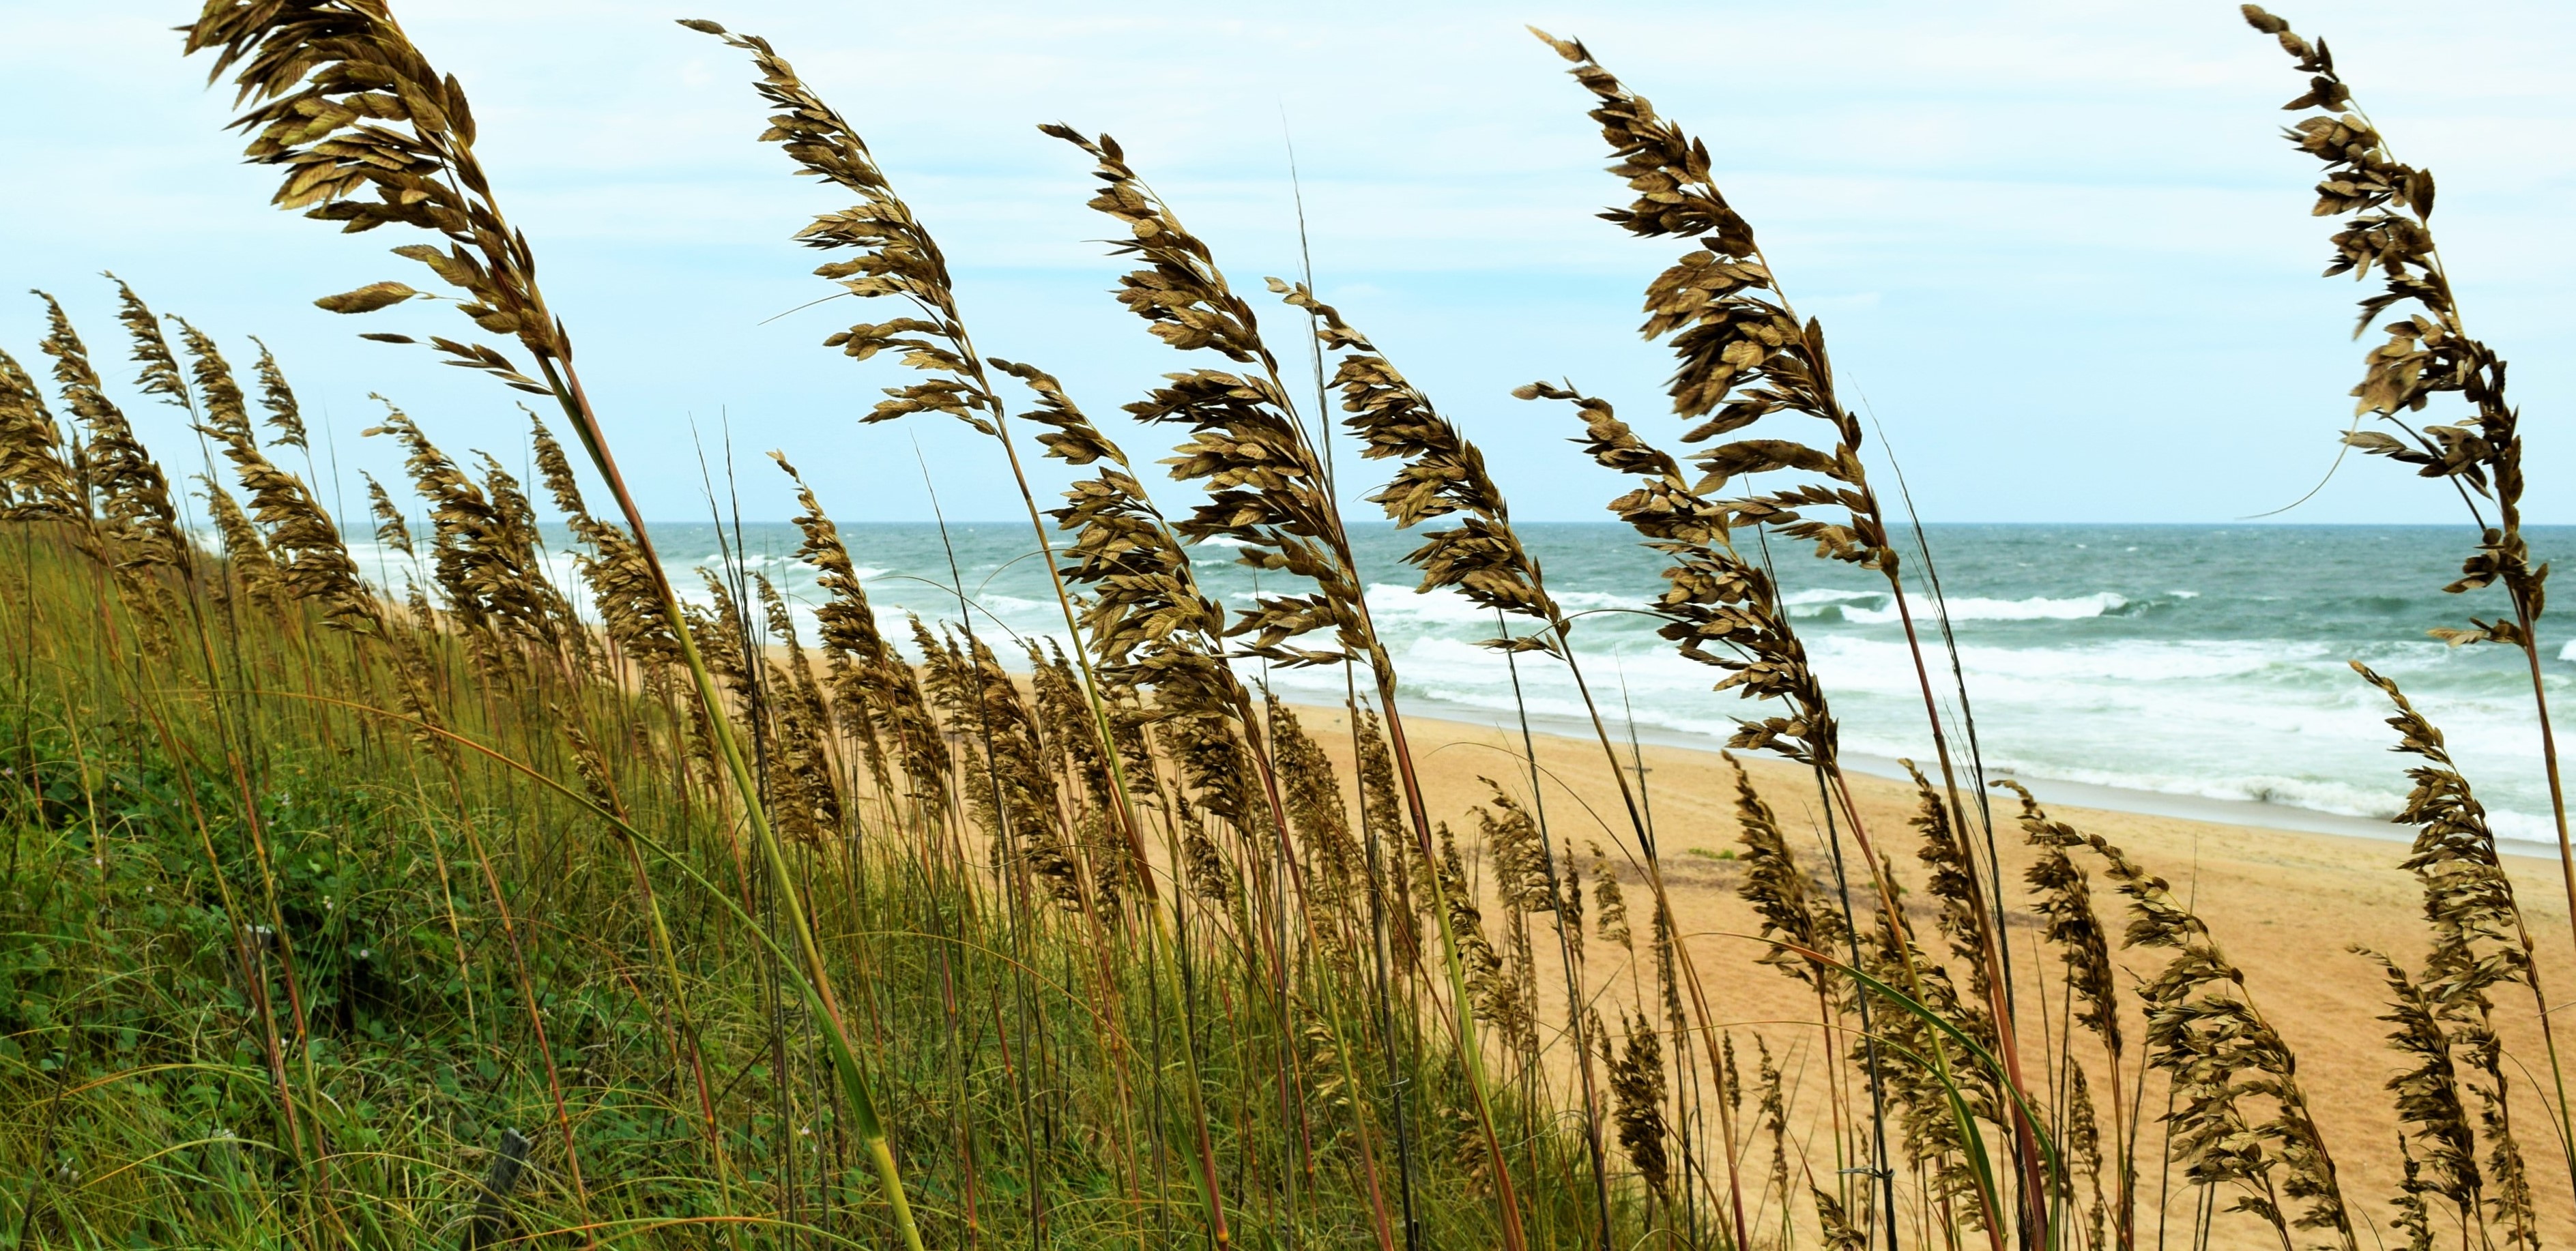
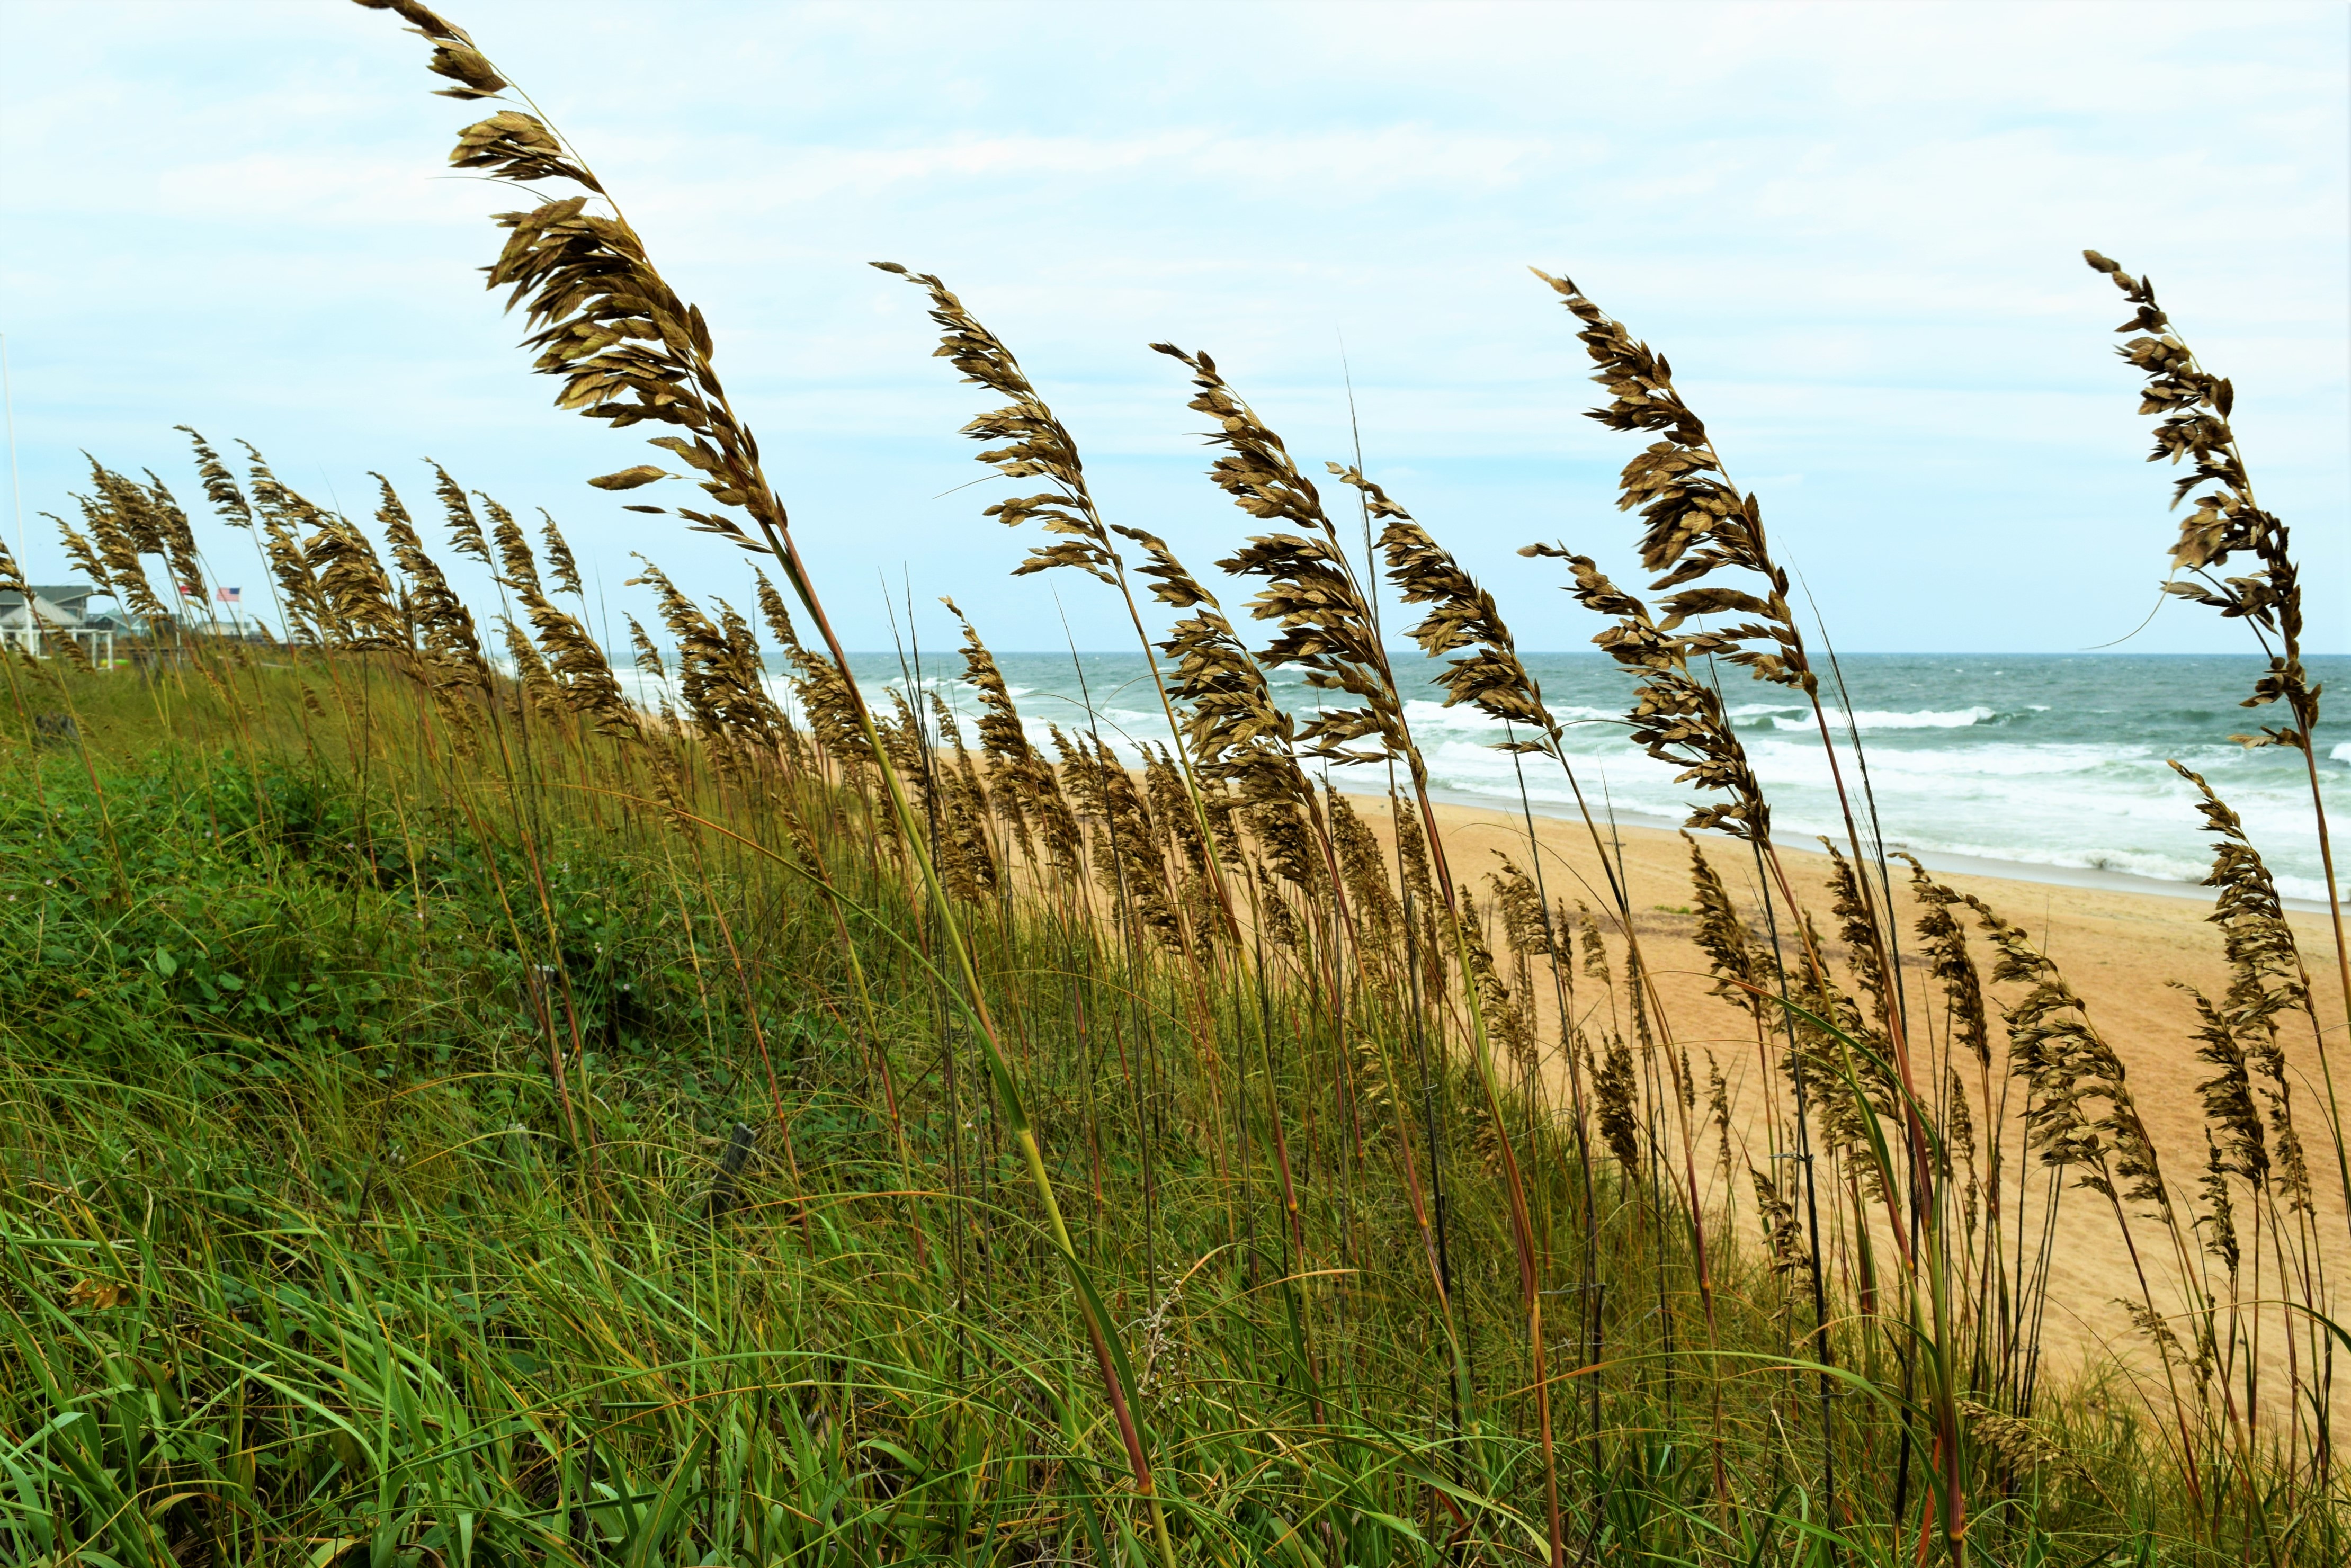
Did I buy a home in Duck? Nope. Based on our priorities, our agent turned us on to a neighboring town called Southern Shores, which was a much better fit for what we wanted in a property. I still find new and interesting things about Southern Shores, NC and I just love, love, love it! Every time I visit I say that I don’t want to go home to Virginia and just want to stay there forever. Here’s the gorgeous dunes at Southern Shores.
A few other things I learned and I recommend as you start looking for that vacation rental property: know what your priorities are. Do you want maximum ROI in rentals? Proximity to the beach and amenities? Peace and serenity? A place for boating? Low maintenance? (Hint, you may want to scratch this last one off your list if you’re going to rent your beach home out, but we’ll talk about that more later). We knew (or thought we knew) our primary priorities going in. Here’s our list:
- Within a 5-minute walk to the beach
- In an “X” flood zone (see more on this below)
- A good deal (and preferably below our budget of 550K)
- Have consistent summer rental history (or potential)
- Not along a main road with a lot of audible traffic
- At least 4 bedrooms and 2 bathrooms or one that could sleep about 10 or more people
- A pool or room to add pool
- Not in a commercialized area (no views of stores, restaurants)
- A water view
I’ll let you know which of these we actually accomplished at the end. But these all sorta make sense except, why wouldn’t you want a house RIGHT smack dab on the beach if you’re buying a beach house? Ok, well admittedly, that would be lovely and would probably help a ton with rental potential, right? Only I’m at least somewhat risk adverse and wasn’t willing to push those limits on our first foray into rental properties. Houses on the beach are exponentially more expensive in terms of sale price. But consequently, you could rent it for more, which is true, but there are other expenses you incur with a house ON the beach. Maintenance is one; you will have higher overall maintenance costs for things like painting, rusting metal that needs to be replaced, and storm damage, which brings me to our #2 priority, an “X” flood zone. FEMA has mapped all coastal areas and assigned different letter codes to designate potential risk for flood based on historical events and geography and probably all other sorts of scientific stuff. More info on all of this is available at FEMA’s flood risk website. Here’s a pictorial simplification of FEMA’s flood risk lettering.
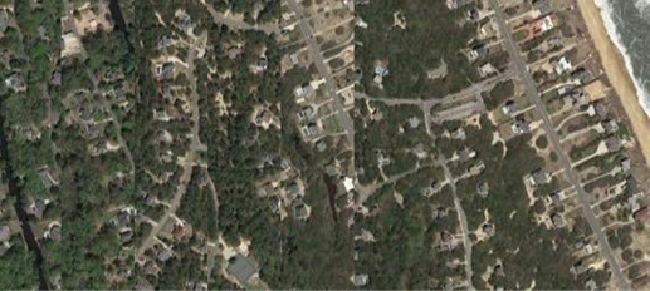
What is important to know if you are buying a coastal property is that these letter codes affect how much or how little flood insurance you have to carry and ultimately, how much you’ll pay. Being in an X zone doesn’t mean that our home is invulnerable to weather, not at all, but it is at a lower risk for flood devastation. For us, it wasn’t just about the money but not having to worry about having to board up our little vacation abode every time a hurricane threatened the east coast or worse worry about having to rebuild it or worse yet, worry about being so severely impacted that our entire property was rendered unusable….. and it happens…. These homes are along the beach in South Nags Head, NC, just a few miles south of ours that had been condemned after a storm.
Are you considering buying a vacation rental property? What are your thoughts or dilemnas? We’d love to hear them! Share in the comments.
Next installment coming in a week or so – continuing the house hunt and expanding it to a “land hunt”…