If you’re looking for accessories for your home but don’t want to spend more than like $5, you’re in luck. This easy DIY design accessory trick is so simple and inexpensive and I use it all the time. Buying actual coffee table books that look good and have attractive covers and spines is a nice idea, but they aren’t cheap and it can be hard to find those that coordinate well with your room and with each other. Also, why buy a book you probably won’t ever read cover to cover, when you can take one of those extra hard back books that is laying around and cover it to match your décor perfectly? So here’s my ridiculously easy step by step tutorial for how to cover books to adorn a shelf, coffee table, or nightstand (this is also great for staging homes).
Step-by-Step Book Beautification
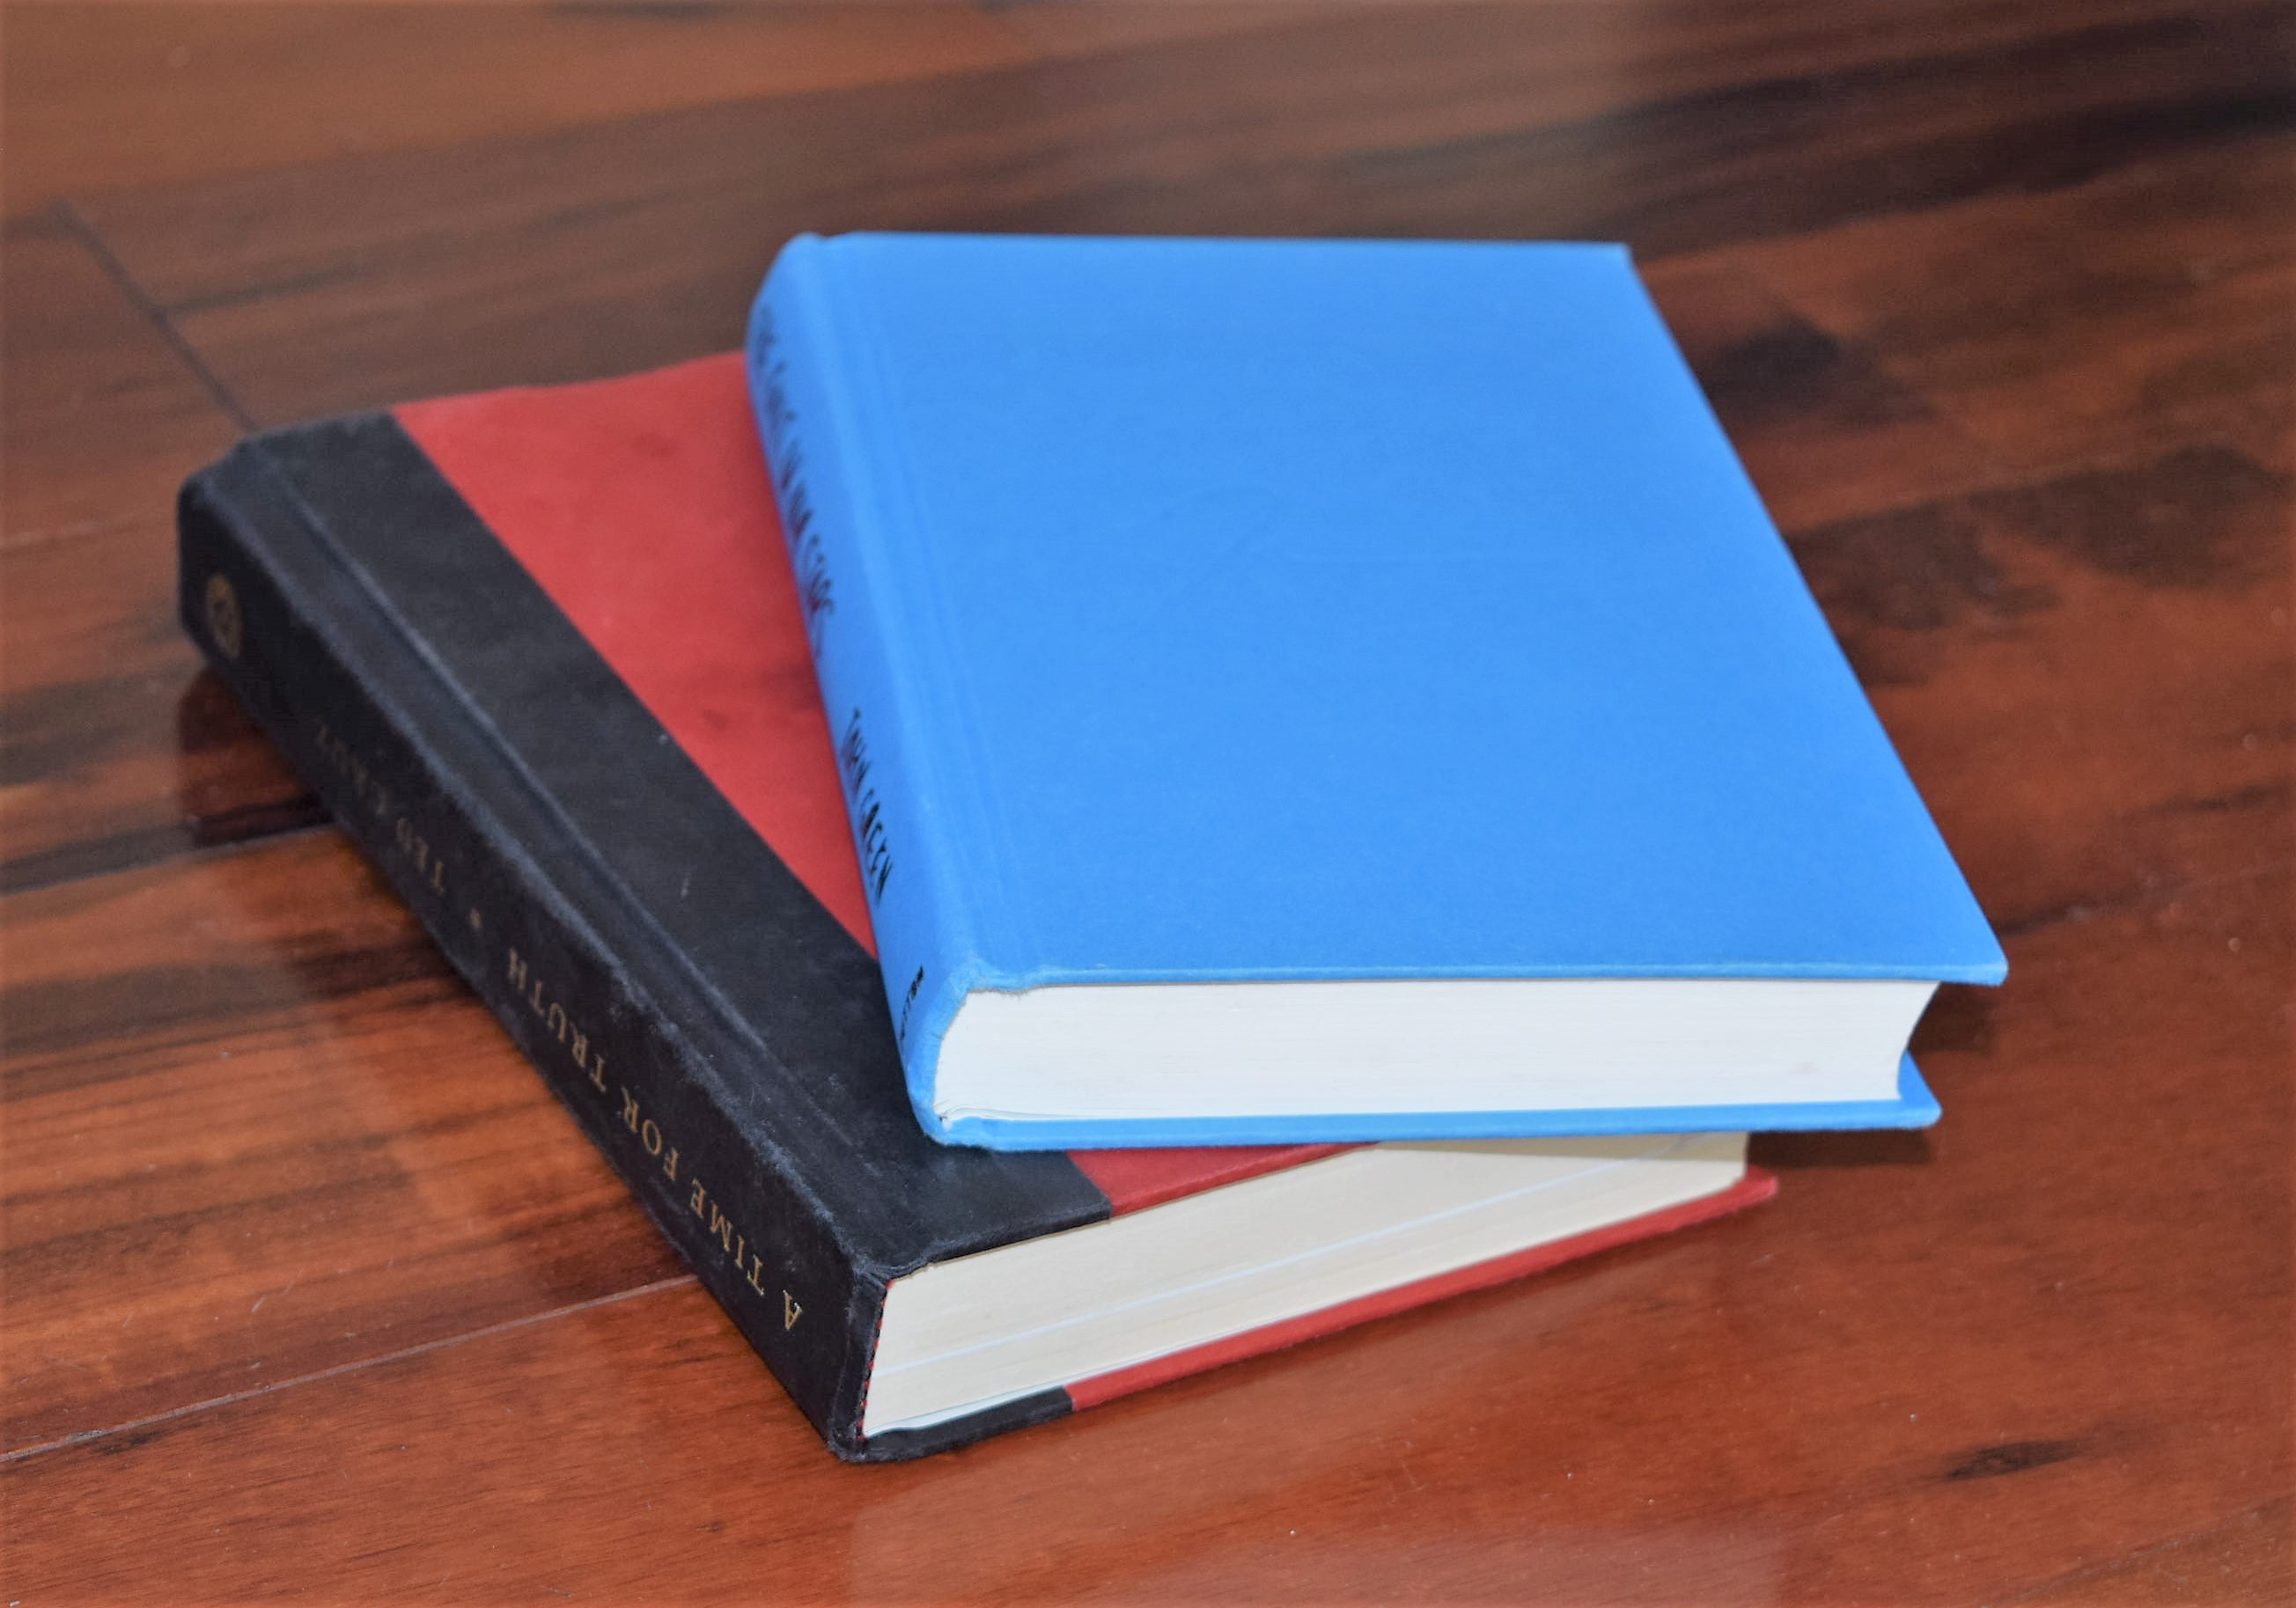
1.Gather old hard back books. If you don’t own any, you could hit up a thrift store with a pocket of loose change or if your public library is like ours, they give unwanted ones away for free!
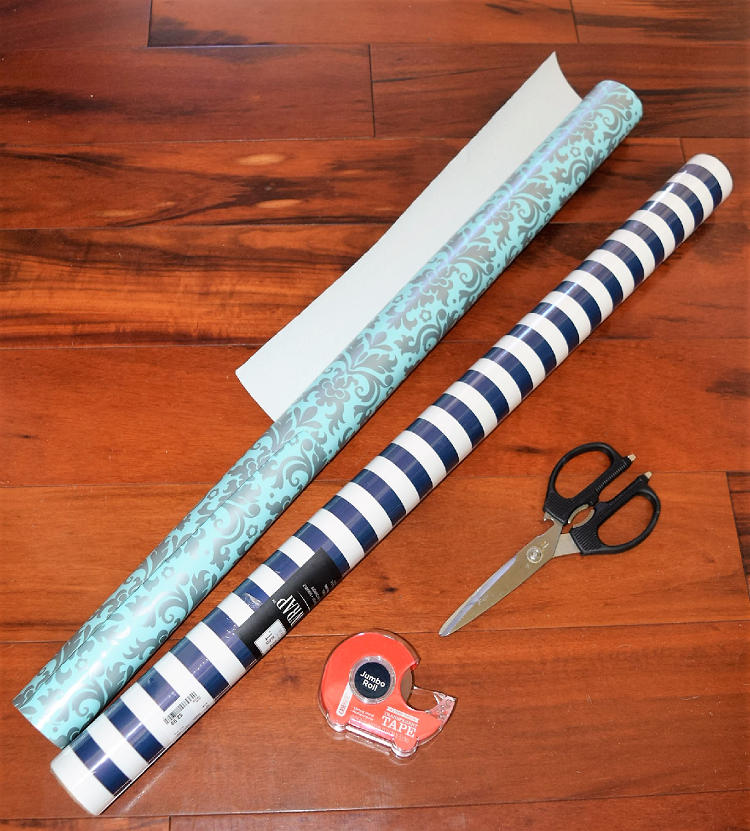
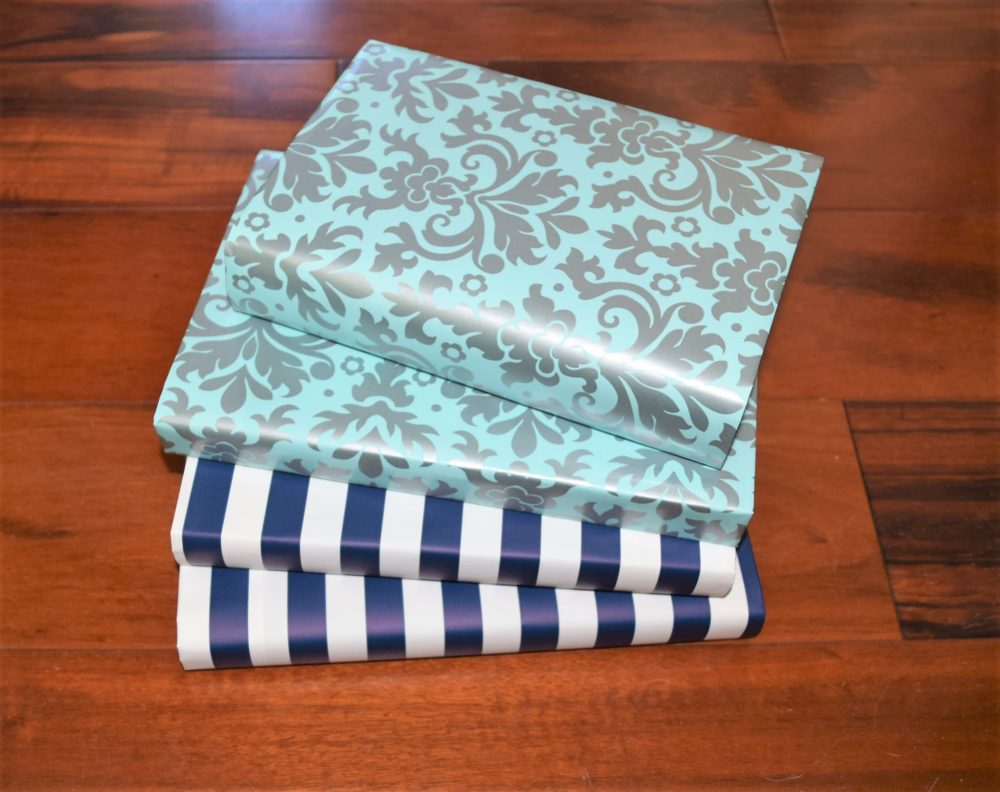
2. Buy some “fancy” wrapping paper. I find that HomeGoods usually has a great selection near their checkout aisles and most are about $3 per roll. You could even use a huge roll of brown craft paper that you can find at Home Depot (they call it masking paper and you can get 180 feet for $4) if you need to cover a whole library’s worth of books or if you want to make it into a fun project with paints or stamps with the kids. This would also work well with scraps of wallpaper. Here are my supplies for a recent covering project.
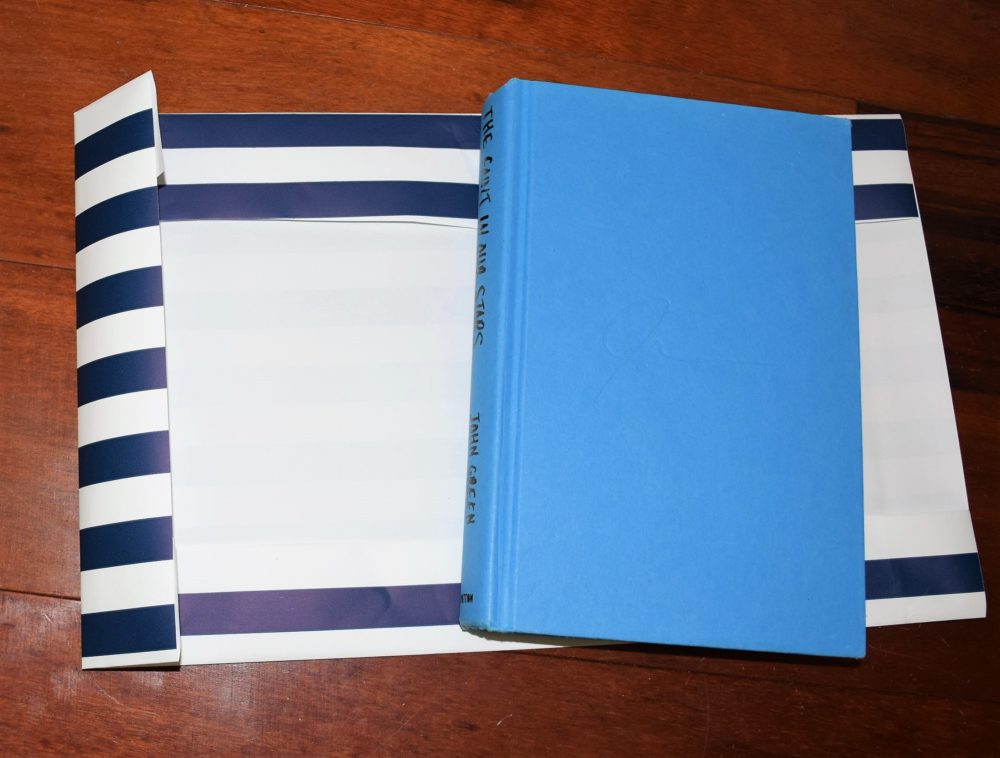
3. Unroll your paper and put your book down and open the front cover. If you have a patterned paper, be sure to orient your book in the direction you want the pattern to run and if you want consistency, be sure to orient all of your books this way.

4. Cut around your open book leaving about an inch and a half excess on all sides.

5. Fold the excess around the edge of the front and back cover creating a crease on those edges. Press down on the top and bottom edges to mark where the paper will need to be folded.

6. Remove the book from the paper. Fold the excess at the top and bottom to match the height of the book.

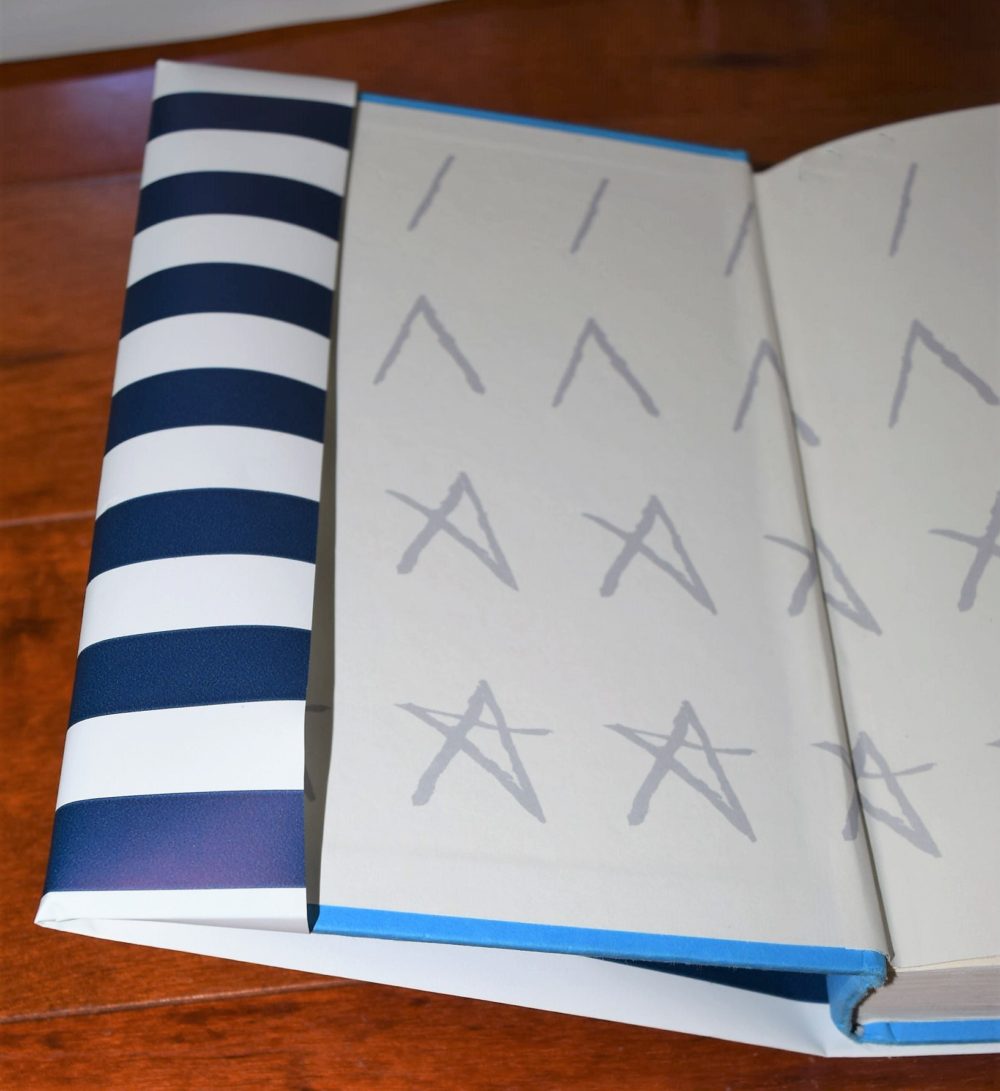
7. Fold over the left and right cover edges to create a pocket for the front and back cover. For the back cover be sure to account for the extra space you’ll need when the book is closed.
8. Insert the front and back cover into the pockets.
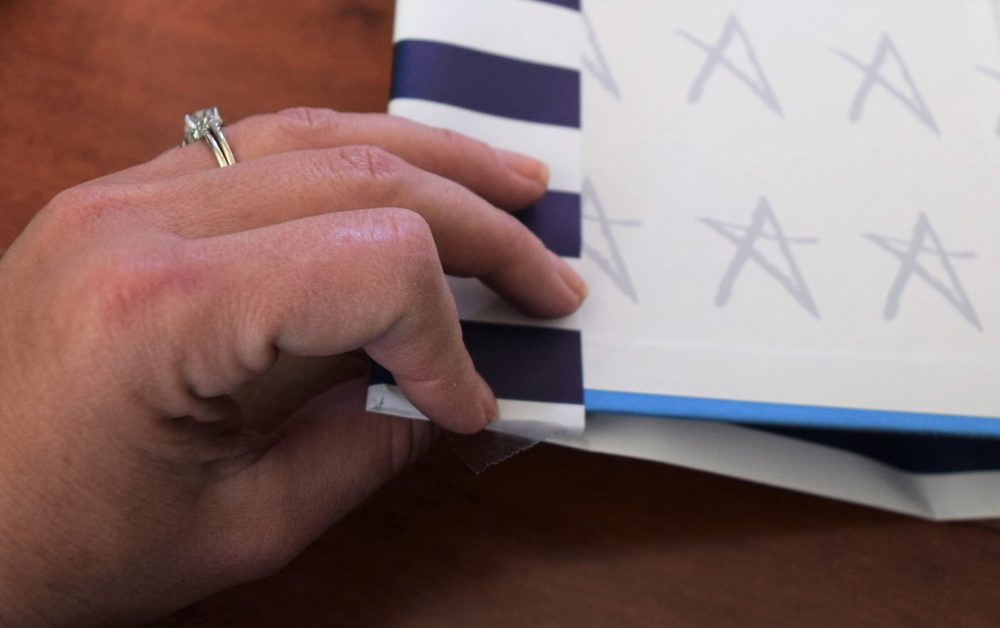
9. If necessary, (it’ll depend on the fit and if you have thin or slippery paper) tape along the edge of the front pocket.
10. Display your books artfully!
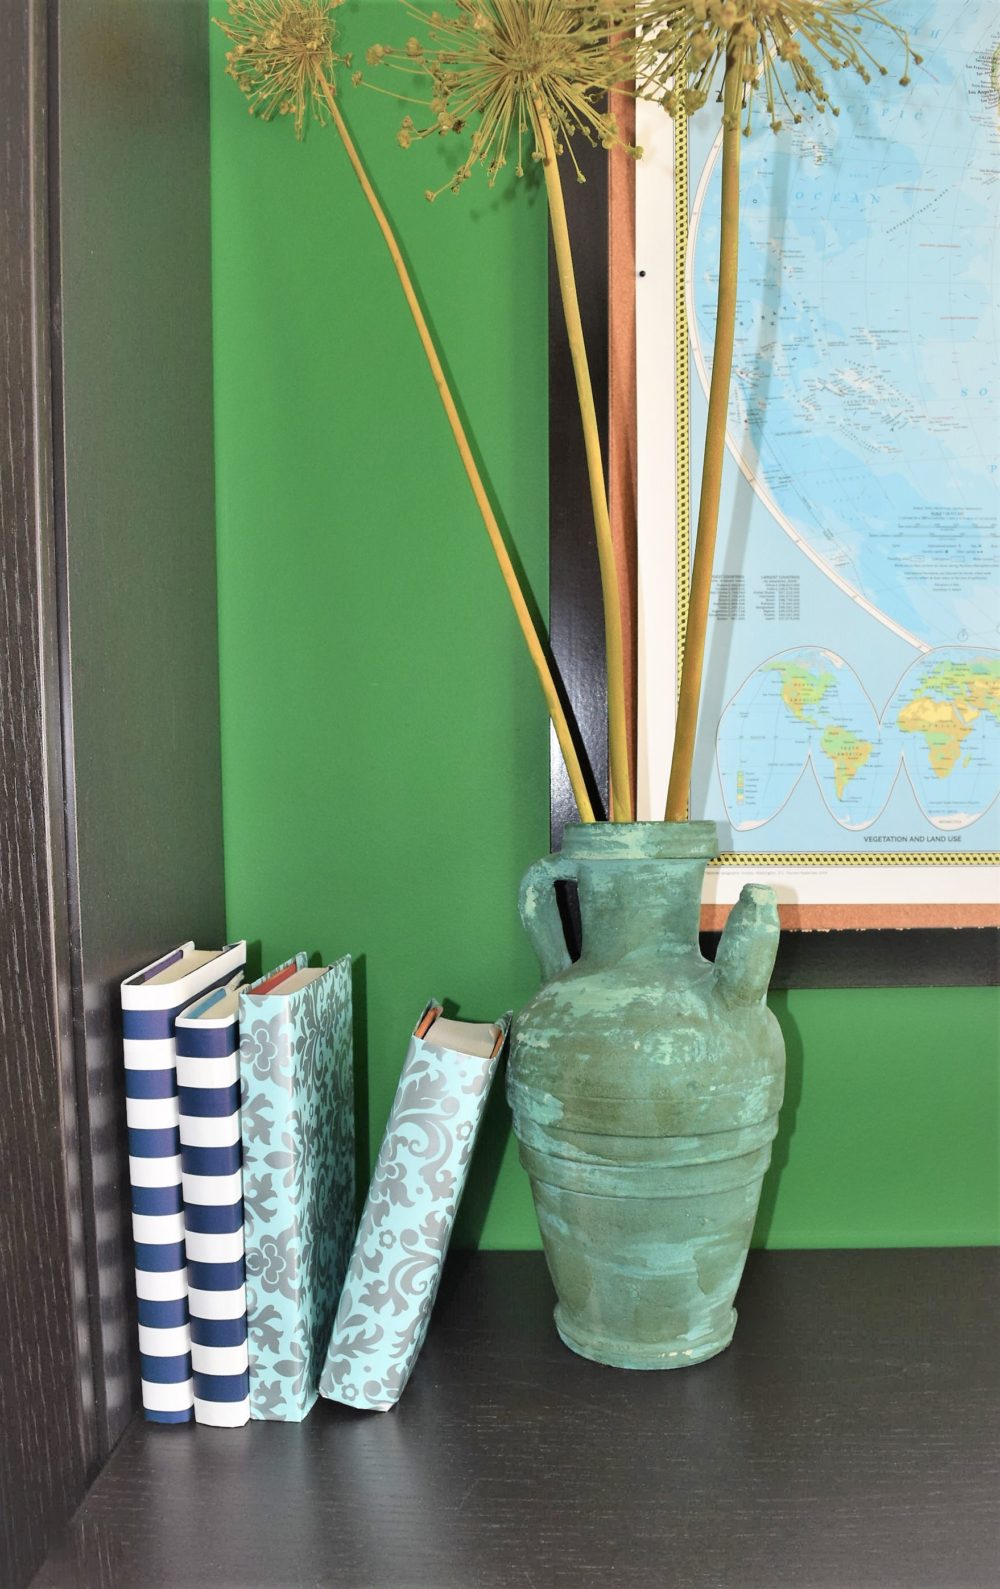
Now that is a stupid easy DIY design accessory. Do you have an easy DIY design secret? Let us know and we’ll feature it here soon!