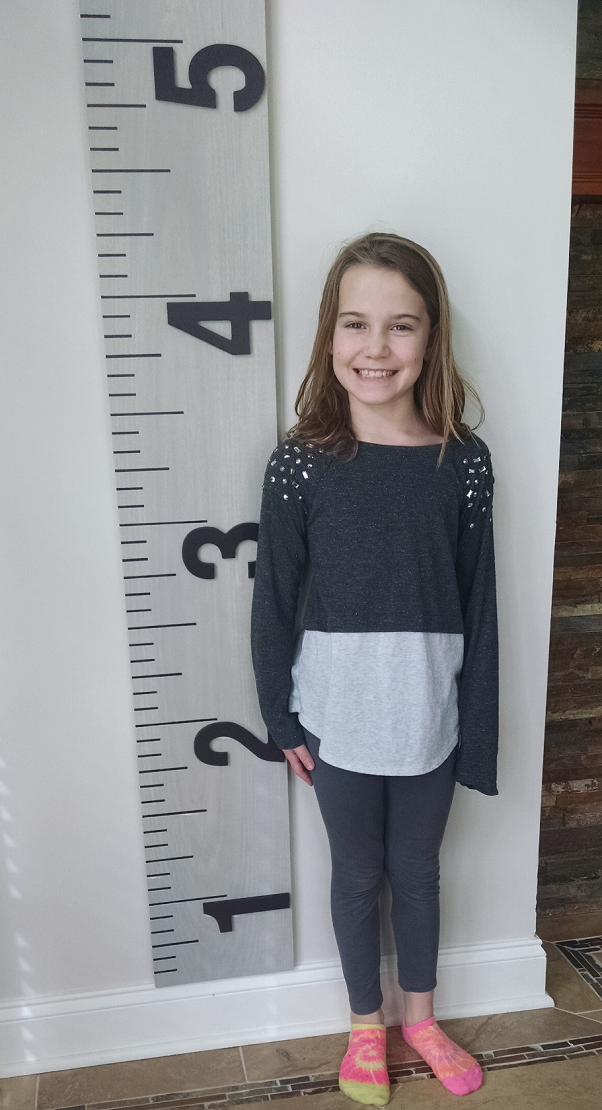
Have you ever been to a baby shower and even though there is a registry and you dutifully used it properly, you still somehow manage to bring the 5th copy of a baby blanket? One way to beat the registry game is to make a unique homemade gift. Before attending a baby shower I saw these growth charts for sale on Etsy, and thought, huh, why buy this when I could make it myself? It was very easy! And the best thing about it is the parent can bring this with them if they decide to move to a different house. Can’t say the same for marking your kid’s growth on the garage wall or behind the kitchen pantry door.
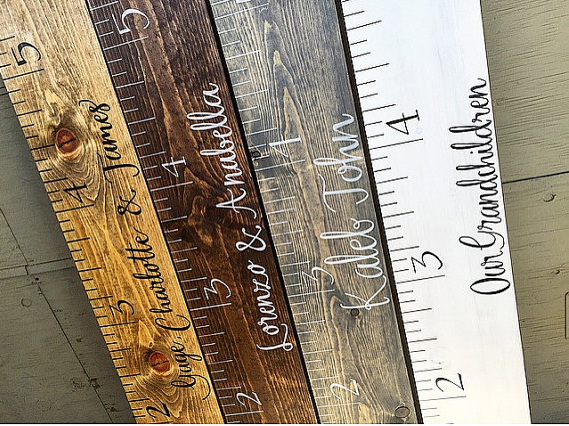
So first, here are a few I saw for inspiration (from the TwistedK and ShimmerStain on Etsy)…and if you don’t have time to DIY your own, fear not, there are a ton of options to buy a completed one.

Gather your materials. You’ll need:
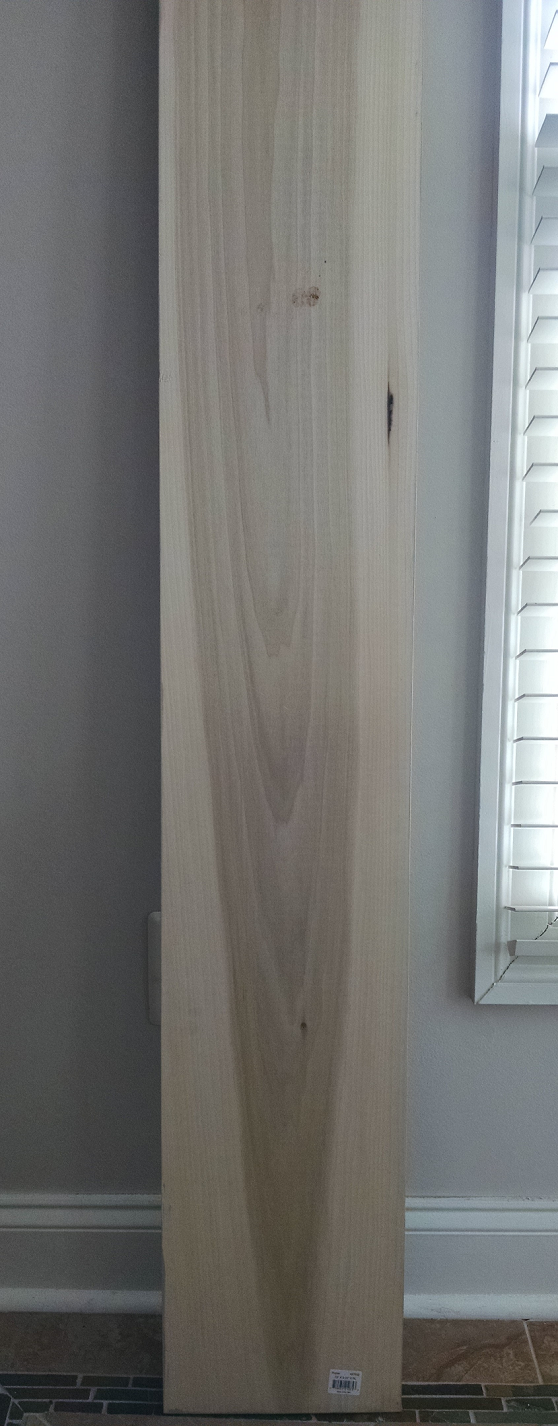
- A flat, straight board that is at least 5 feet long and 6 or 8 inches in width
- A tape measure
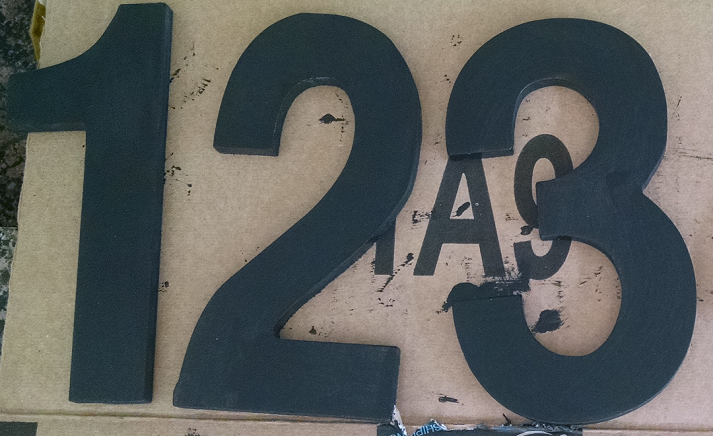
- Pre-made wood or MDF numbers
- Stain and a rag
- Paint (brush on or spray)
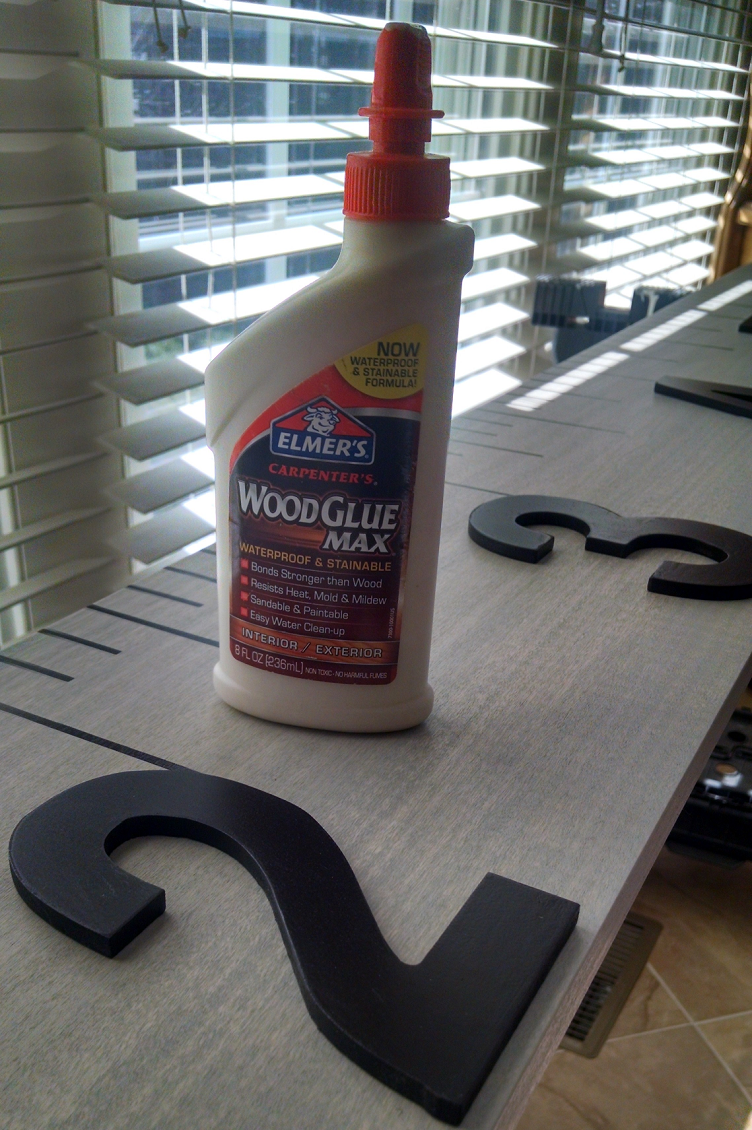
- Wood glue
- Pencil
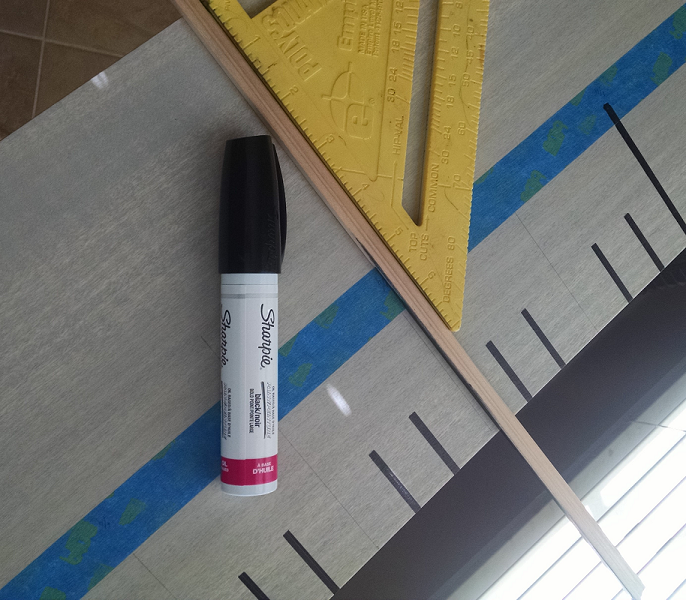
- Super wide Sharpie
- T-square (or other right angle straight edge)
- Sand paper
A few notes about the materials, I wanted a finished ruler without a lot of wood grain, so I purchased a premium board of Poplar at Home Depot. Different kinds of wood will give you different results depending on if you want to stain or paint it.
Step by step instructions:
1.If necessary, cut your board to the desired length. Generally, a board about 5 or 6 feet in length will be sufficient. Let’s face it, who’s measuring a child much past 5 feet in height? They’ll be cranky teens by that point and who wants to measure a cranky teen? However, you don’t want a mini board either as it will look strange hung low on your wall.
2. Lightly sand the board to remove any splinters and to prepare it for stain.
3. Stain the board. I choose a light grey stain that I applied with a rag and wiped off the excess.

4. Paint the pre-made numbers. (These are usually available at a craft store). I choose to paint mine black because it would contrast well with the light grey. If you choose a dark stain you may want to paint our numbers a light color so that you will be able to read them. Note if you go with a dark board you’ll also to need to make light ruler lines so you may opt for a paint pen instead of a wide Sharpie.
5. After your stained board is dry, measure out and mark where your ruler hash marks will go with a pencil. Use a T-square to make sure that they are properly spaced and exactly perpendicular to the board edge. *Important note: Almost all walls have some sort of trim at the floor, so you don’t want to start your board at zero, I started mine at 6 inches, so when hung it will have to be hung exactly 6 inches from the floor.
6. Once you have your pencil lines looking good and straight, go back over them with the wide Sharpie. Use your T-square as a straight edge to keep your lines straight. I used blue tape on my board so my lines didn’t go further than they should. Be sure to wipe off the edge of your T-square after tracing over each line and don’t drag your straight edge up to the next line because it may drag the wet Sharpie ink and smudge it. I did all foot marks first, then went back and did half foot marks, then quarter foot marks, then eighth foot marks, that way I was sure to not bump and smudge those that were still drying.
7. Using the wood glue, glue each painted number in the spot adjacent to the corresponding foot hash mark.
8. If desired, screw in a picture hanger bracket on the back, just be sure to use very small screws so you don’t poke through to the front of the board.
9. Measure out the right spot on the wall to hang it and get to measuring those little cuties! If you’re giving it as a gift, you could affix a variety of colored permanent markers on some ribbon so the recipient is ready to mark the height of their new bundle of joy right away.