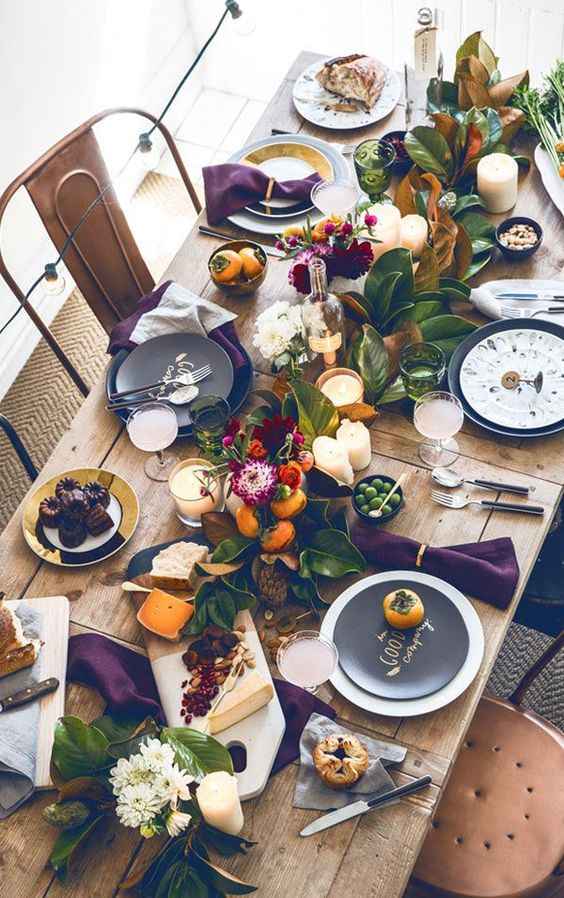
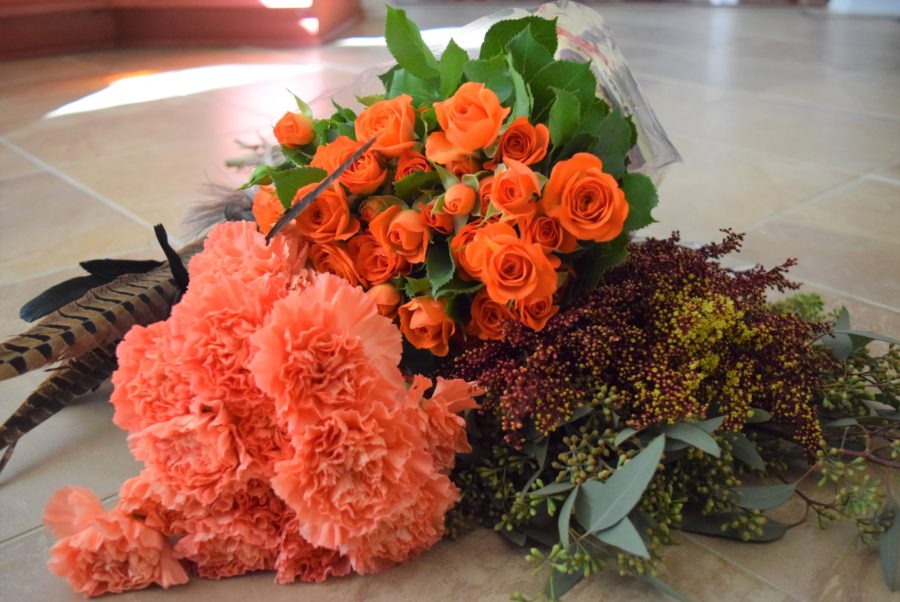
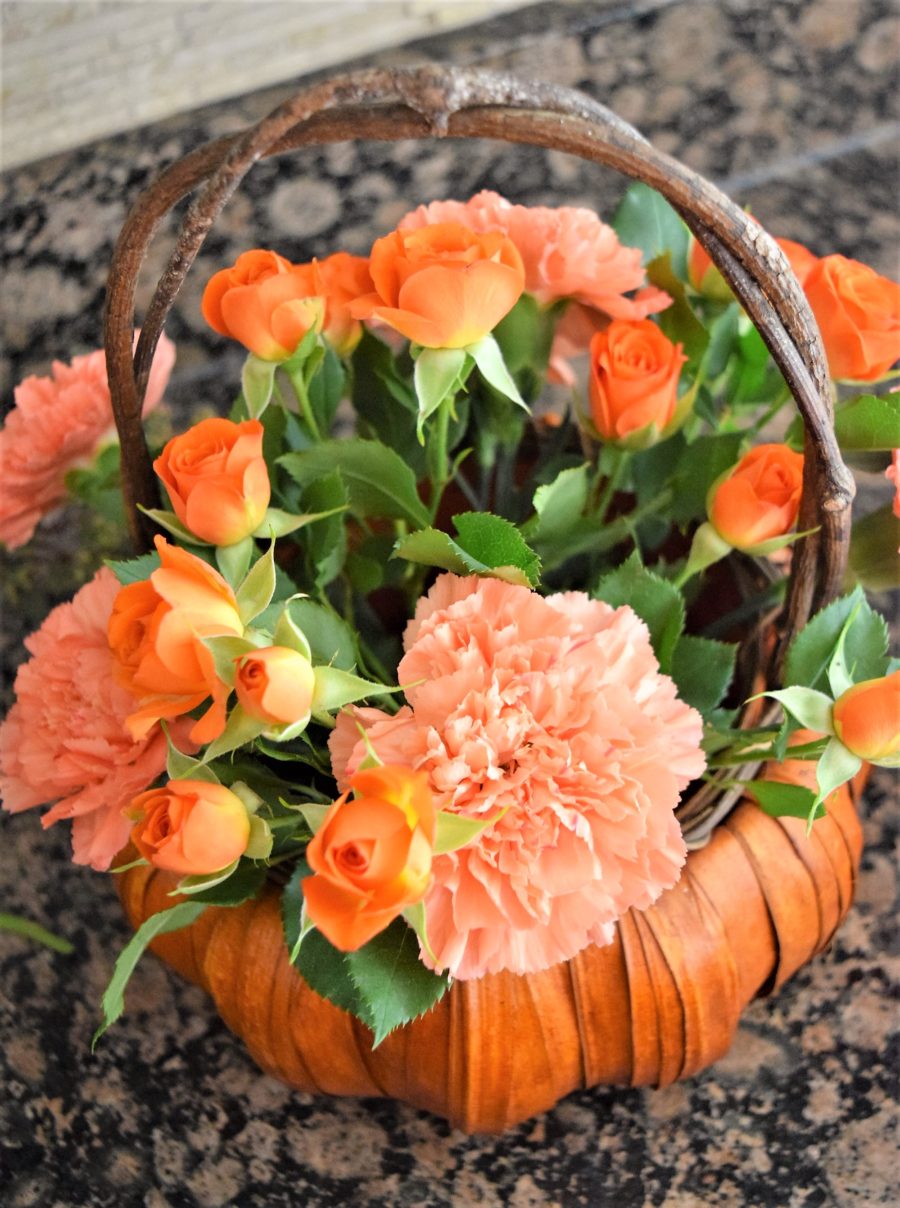
Last week we talked about Thanksgiving tablescapes. One of the key elements of many of those gorgeous tables was a glorious centerpiece or floral arrangement, or even several floral moments on one table. Lots of people are intimidated by arranging flowers. I get it. Truthfully it does take a little more finesse than just removing the cellophane and plopping them in a vase. Understandably, lots of people shy away from DIY’ing it and just call up FTD and order a centerpiece. While convenient, the problem with this is twofold. One, they are sooo expensive and two, they never look like they do in the “representative” online photo. They are usually crammed with cheap greens, foregoing the proper number of expensive flowers that you were supposed to get. I’ll bet that if you try making your own arrangement once, you may never buy that expensive garbage ever again. Here’s how you can DIY your Thanksgiving centerpiece! I made 2 medium and 2 small arrangements, plus a leftover scrap arrangement for just $46 in flowers. We have a flower wholesaler nearby where one can get virtually any flower, and their prices are pretty reasonable. If you don’t have a wholesaler open to the public near you, you could do something similar with about 5 bunches of flowers from Costco or the grocery store, it may cost just a few more dollars. For this arrangement, I picked up a bunch of orange spray roses (those are the mini-ones), a bunch of peach carnations (which, sadly, get a bad rap), a bunch of seeded eucalyptus, and a deep burgundy solidago (i.e. goldenrod).
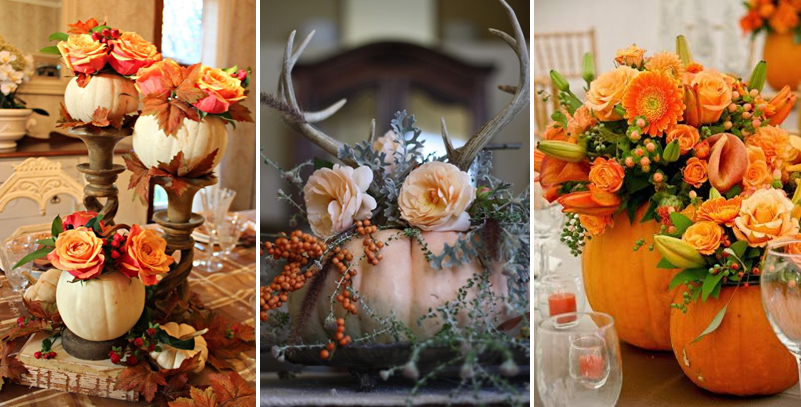
I already had a few random containers that would work well for a fall centerpiece, a wooden pumpkin, a pumpkin basket and 2 small pedestal candle holders that became vases and my leftovers went in an old Patron tequila bottle (hint – they make great stem vases once you finish with the tequila).
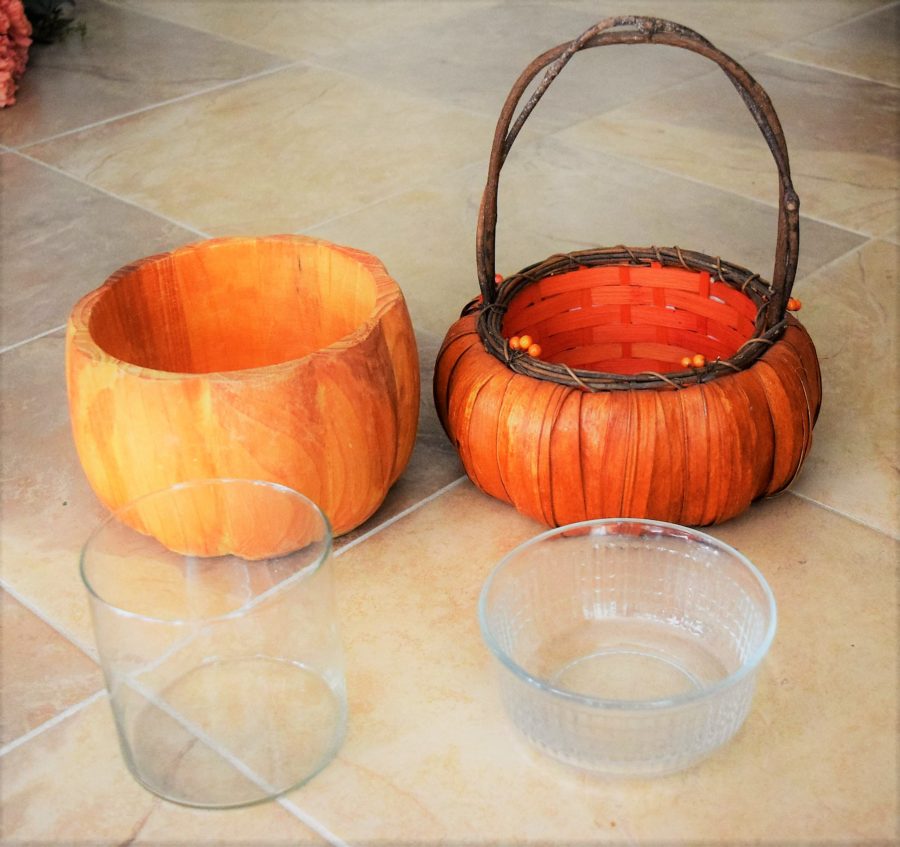
Other supplies I used were 2 containers to fit inside my pumpkins (since they weren’t watertight), garden snips/shears, and a few pieces of oasis floral foam and some clear floral tape.
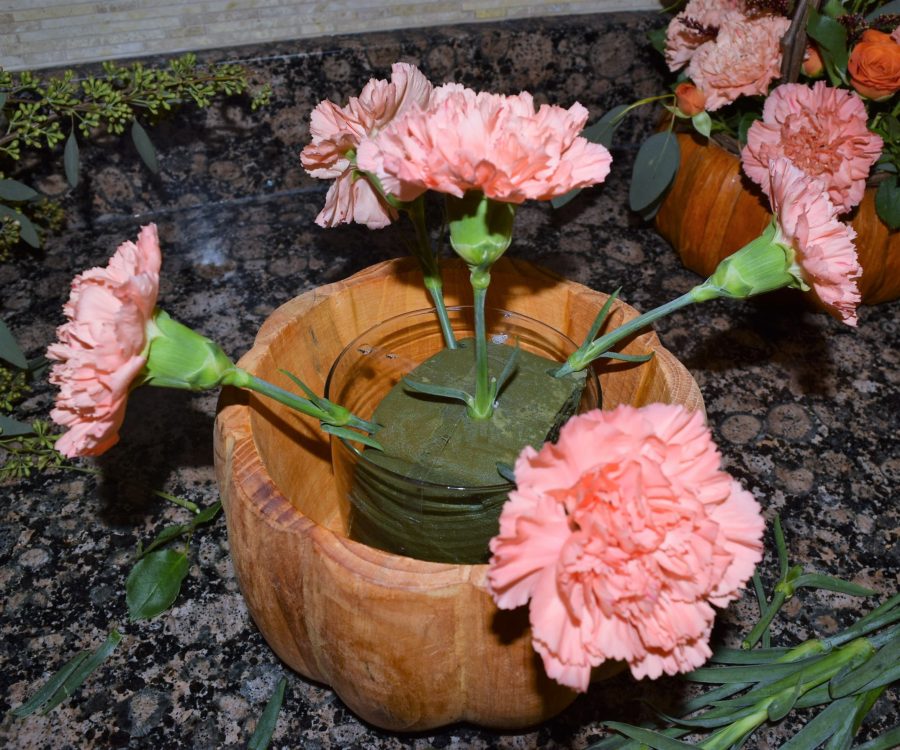
I started by inserting a good size chunk of oasis into the inside containers and drenching them in water. Oasis needs to be wet in order to insert the stems into it. Next each flower stem as you insert it (don’t do them all at once) so that they stand only two or three inches above your container and make the first 5 or so flowers symmetrically placed. Here you can see that I placed one in the middle and 4 others sideways at each corner of the oasis.
Then add your secondary flower, in this case I kept a lot of greenery on the spray roses, the leaves looked nice and it meant that there was one less green I had to buy. Alternatively, if you’re using flowers that don’t have nice leaves you can snip in your garden or trim your house plants.
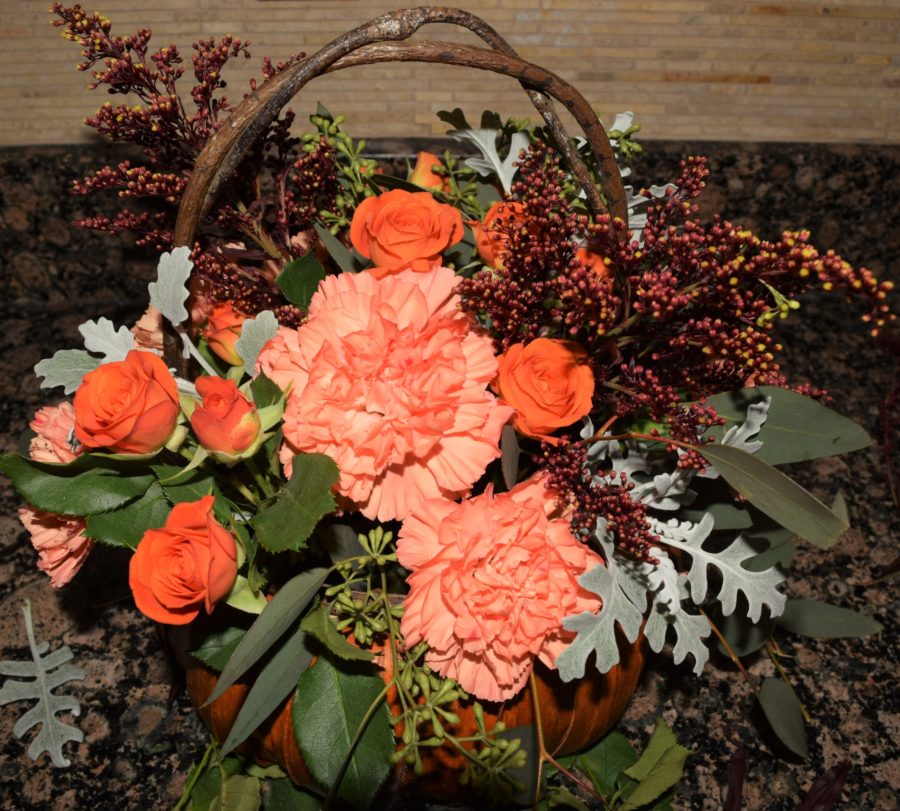
Next I filled in holes with the solidago and the seeded eucalyptus which both had a nice contrast in deep burgundy and soft green.

I still thought there wasn’t enough contrast so I went out in my garden and clipped a few stems of dusty miller which added a nice frosty mint green contrast.
After making the two pumpkin arrangements I noticed that I still had a ton of flowers left, so I took these two small candle holders and made a grid pattern on the top with clear floral tape. Why the grid, you ask? This is a trick florists use to keep their arrangements standing in their clear glass vases perfectly. Without the tape the flowers would flop around and not stay put where you actually wanted them.

I then repeated the process of inserting main flowers first symmetrically around the vase, then adding in secondary flowers, and finally greens. Even after completing these I had a good bit of eucalyptus remaining which I simply stuck in an old Patron bottle with a few feathers. I haven’t decided how I’m going to display them yet with my set table but here is the group of the 4 flower arrangements completed. Will you take on the DIY centerpiece challenge? We’d love to see them. Add a comment and show us your work!