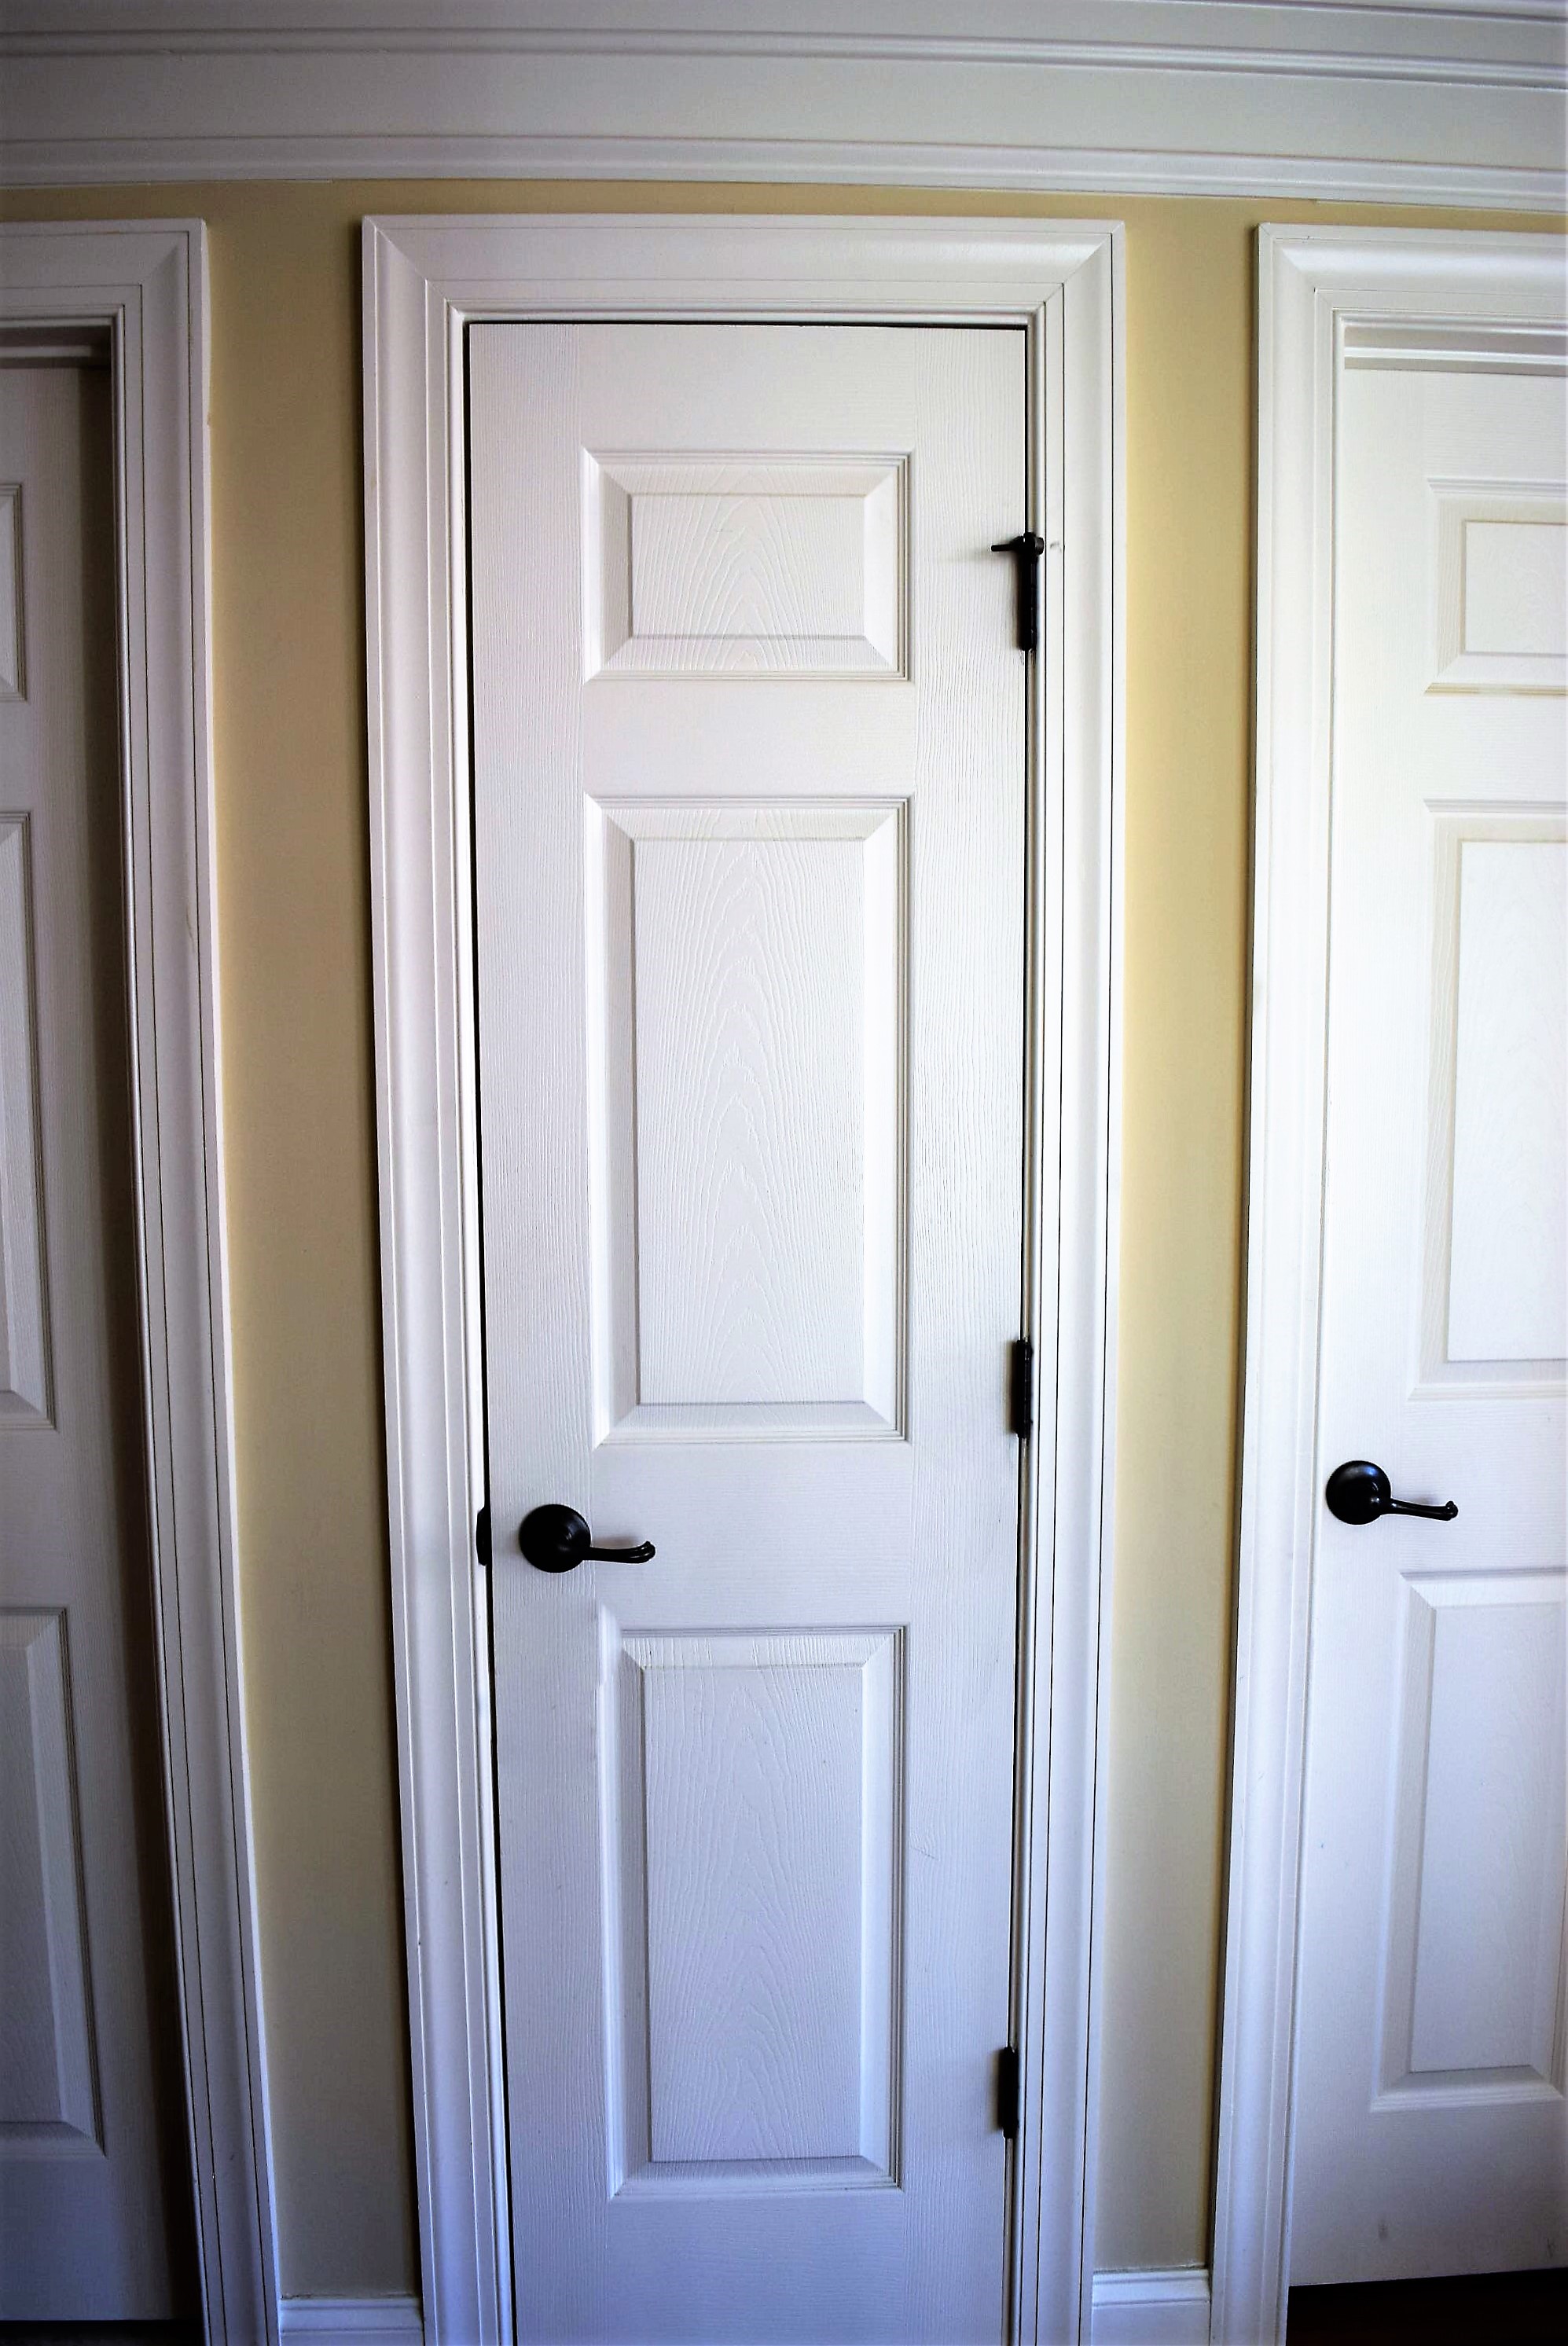
Builders across the United States must’ve all come together at some point in the 80’s and declared, “From this point forth at least 95% of all homes shall hereby have absolutely hideous shiny brass knobs or door handles, no matter how ugly it looks.” Maybe they had stock in fake brass. Is fake brass a traded commodity like gold or silver? Hmmm. I may be on to something here. Anyway, I have never met a single person that actually likes these fixtures, and yet most of America is stuck looking at its gaudy gold-ness every time they enter or leave a room. Making a change to something more modern can be a significant investment. If I were to buy new fixtures for every door in my house it would have cost me over 800 dollars to replace them all. There has to be a better way. When in doubt, if you want to make something look better, paint it. Here’s how to take your unsightly shiny brass into serious style, step by step.
You’ll need:
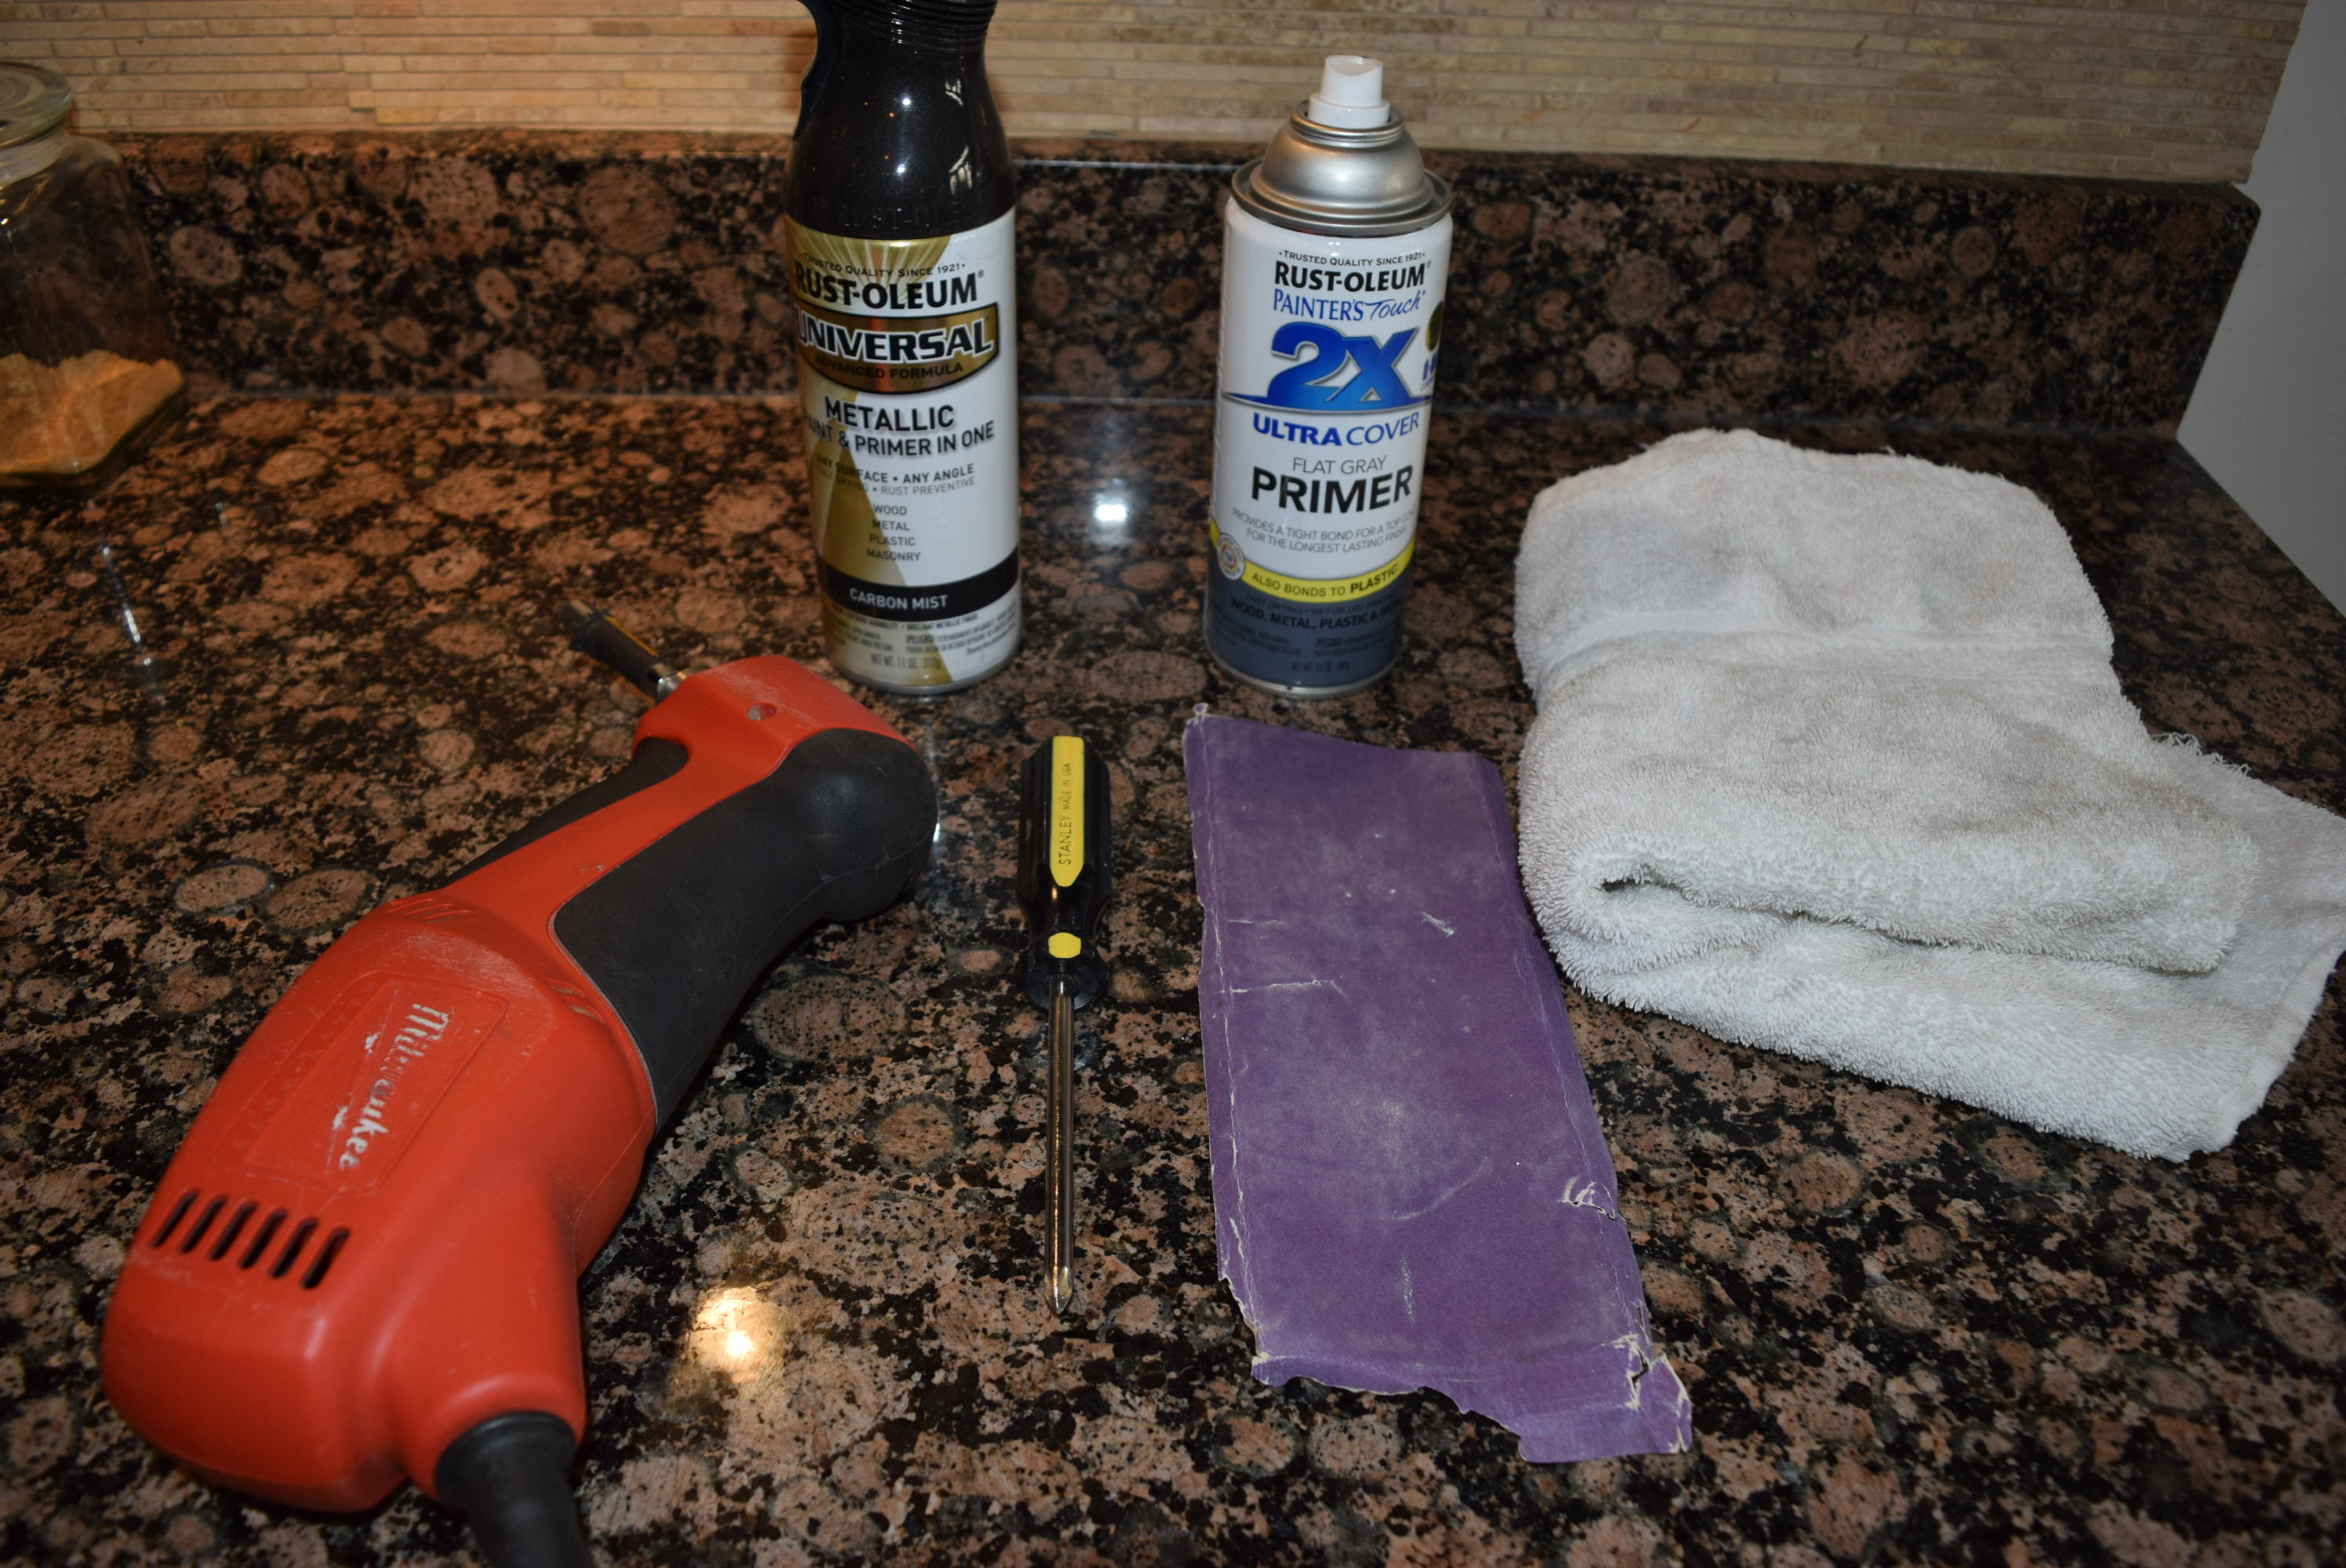
- Screwdriver or drill
- Fine grit sandpaper (I used a 220 grit)
- A rag
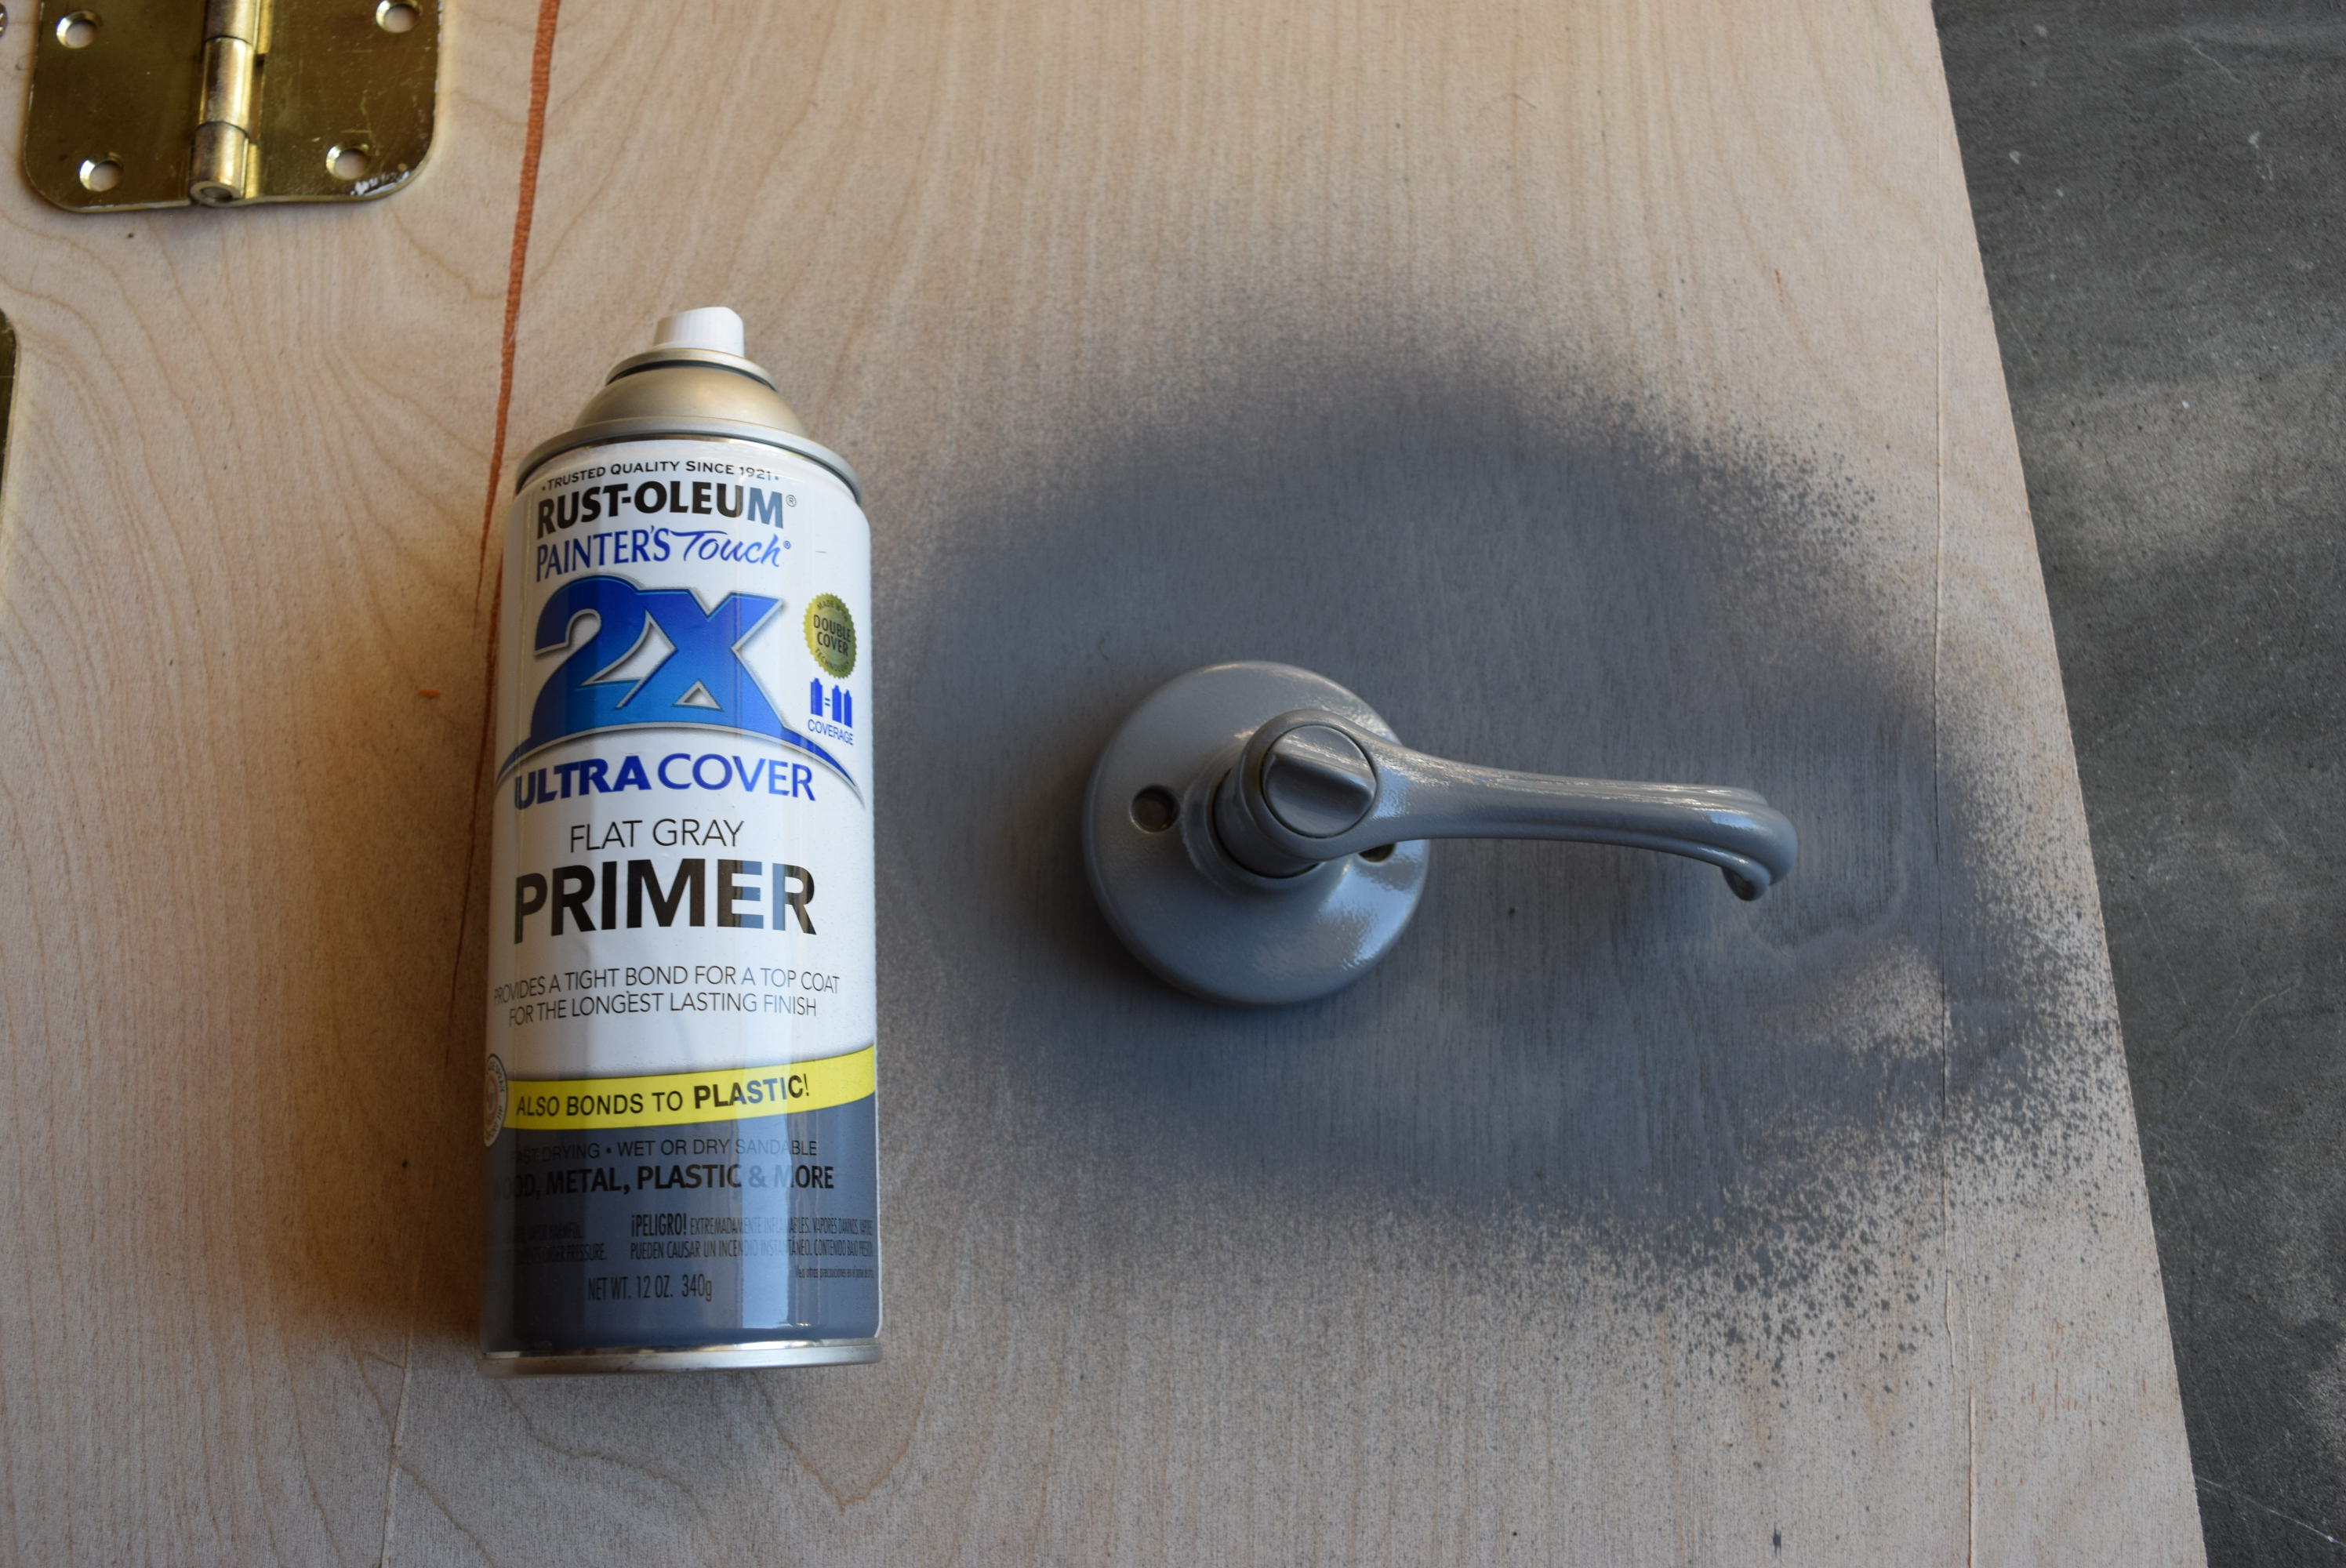
- Spray primer, standard grey which will work just fine if painting hardware bronze, pewter, stainless or black. Note, even if your paint says it has primer included, don’t believe it, use a primer anyway.
- Spray paint (I chose an almost black with a shiny fleck to it called Carbon Mist)
-
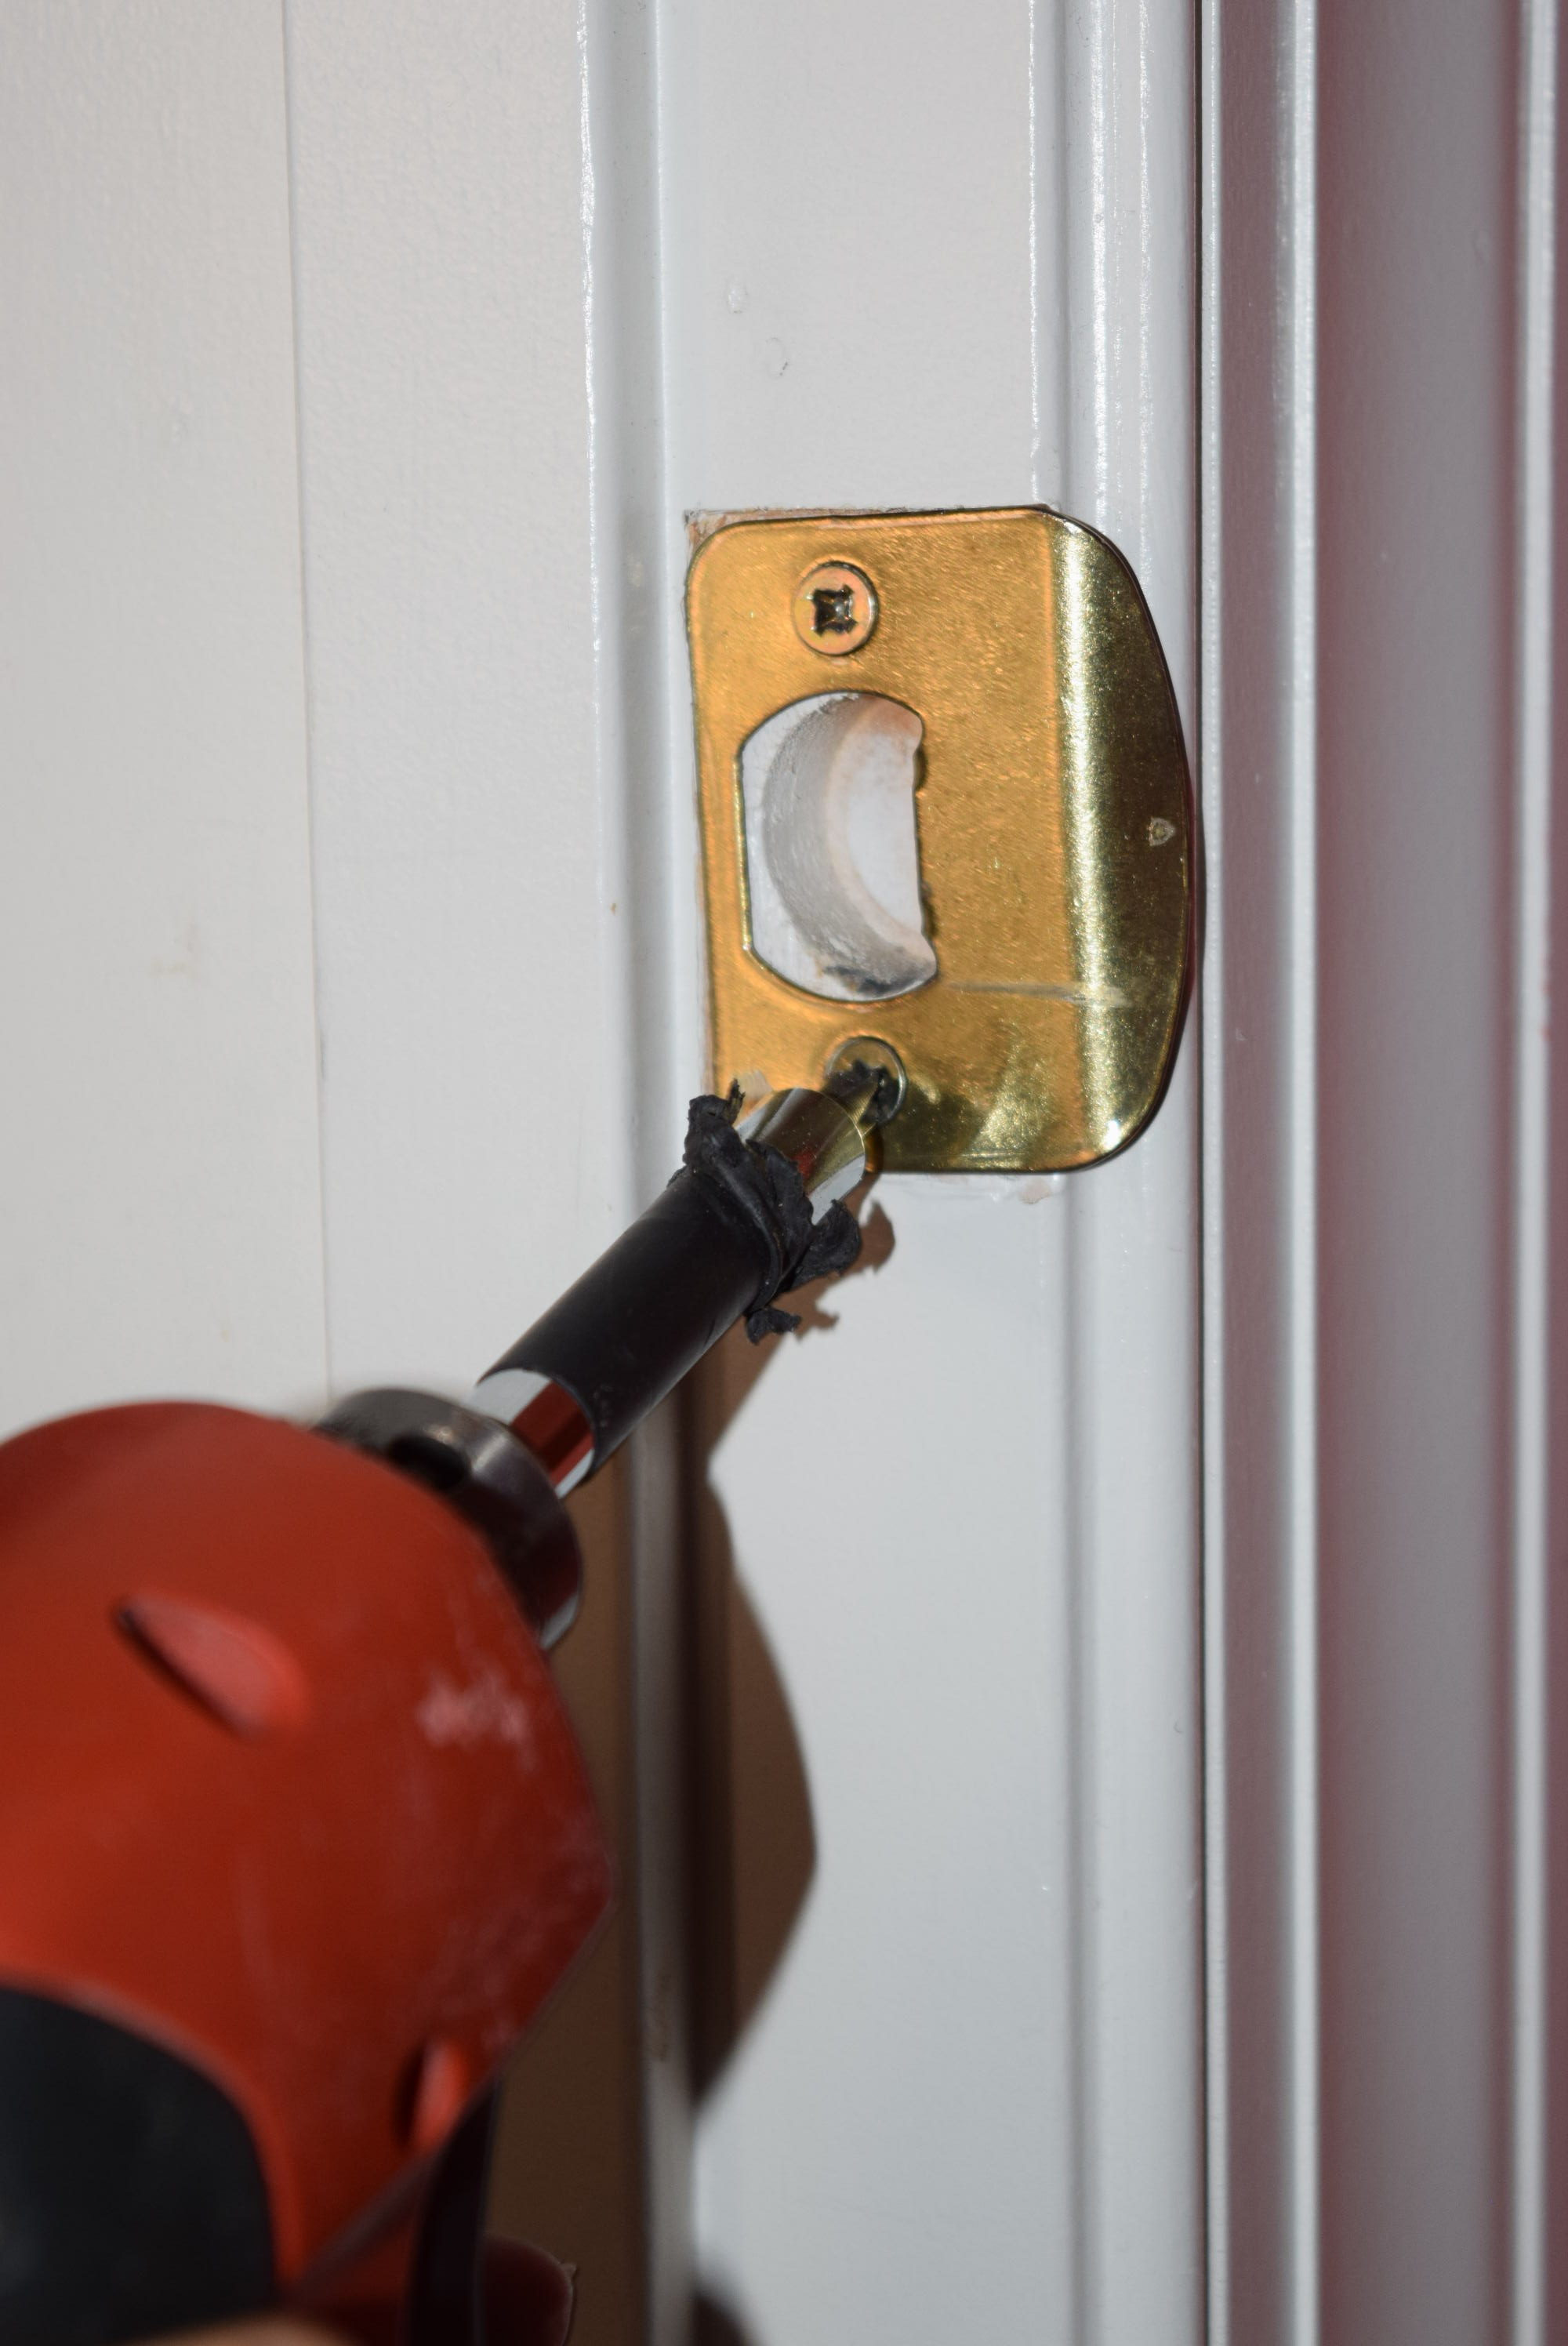
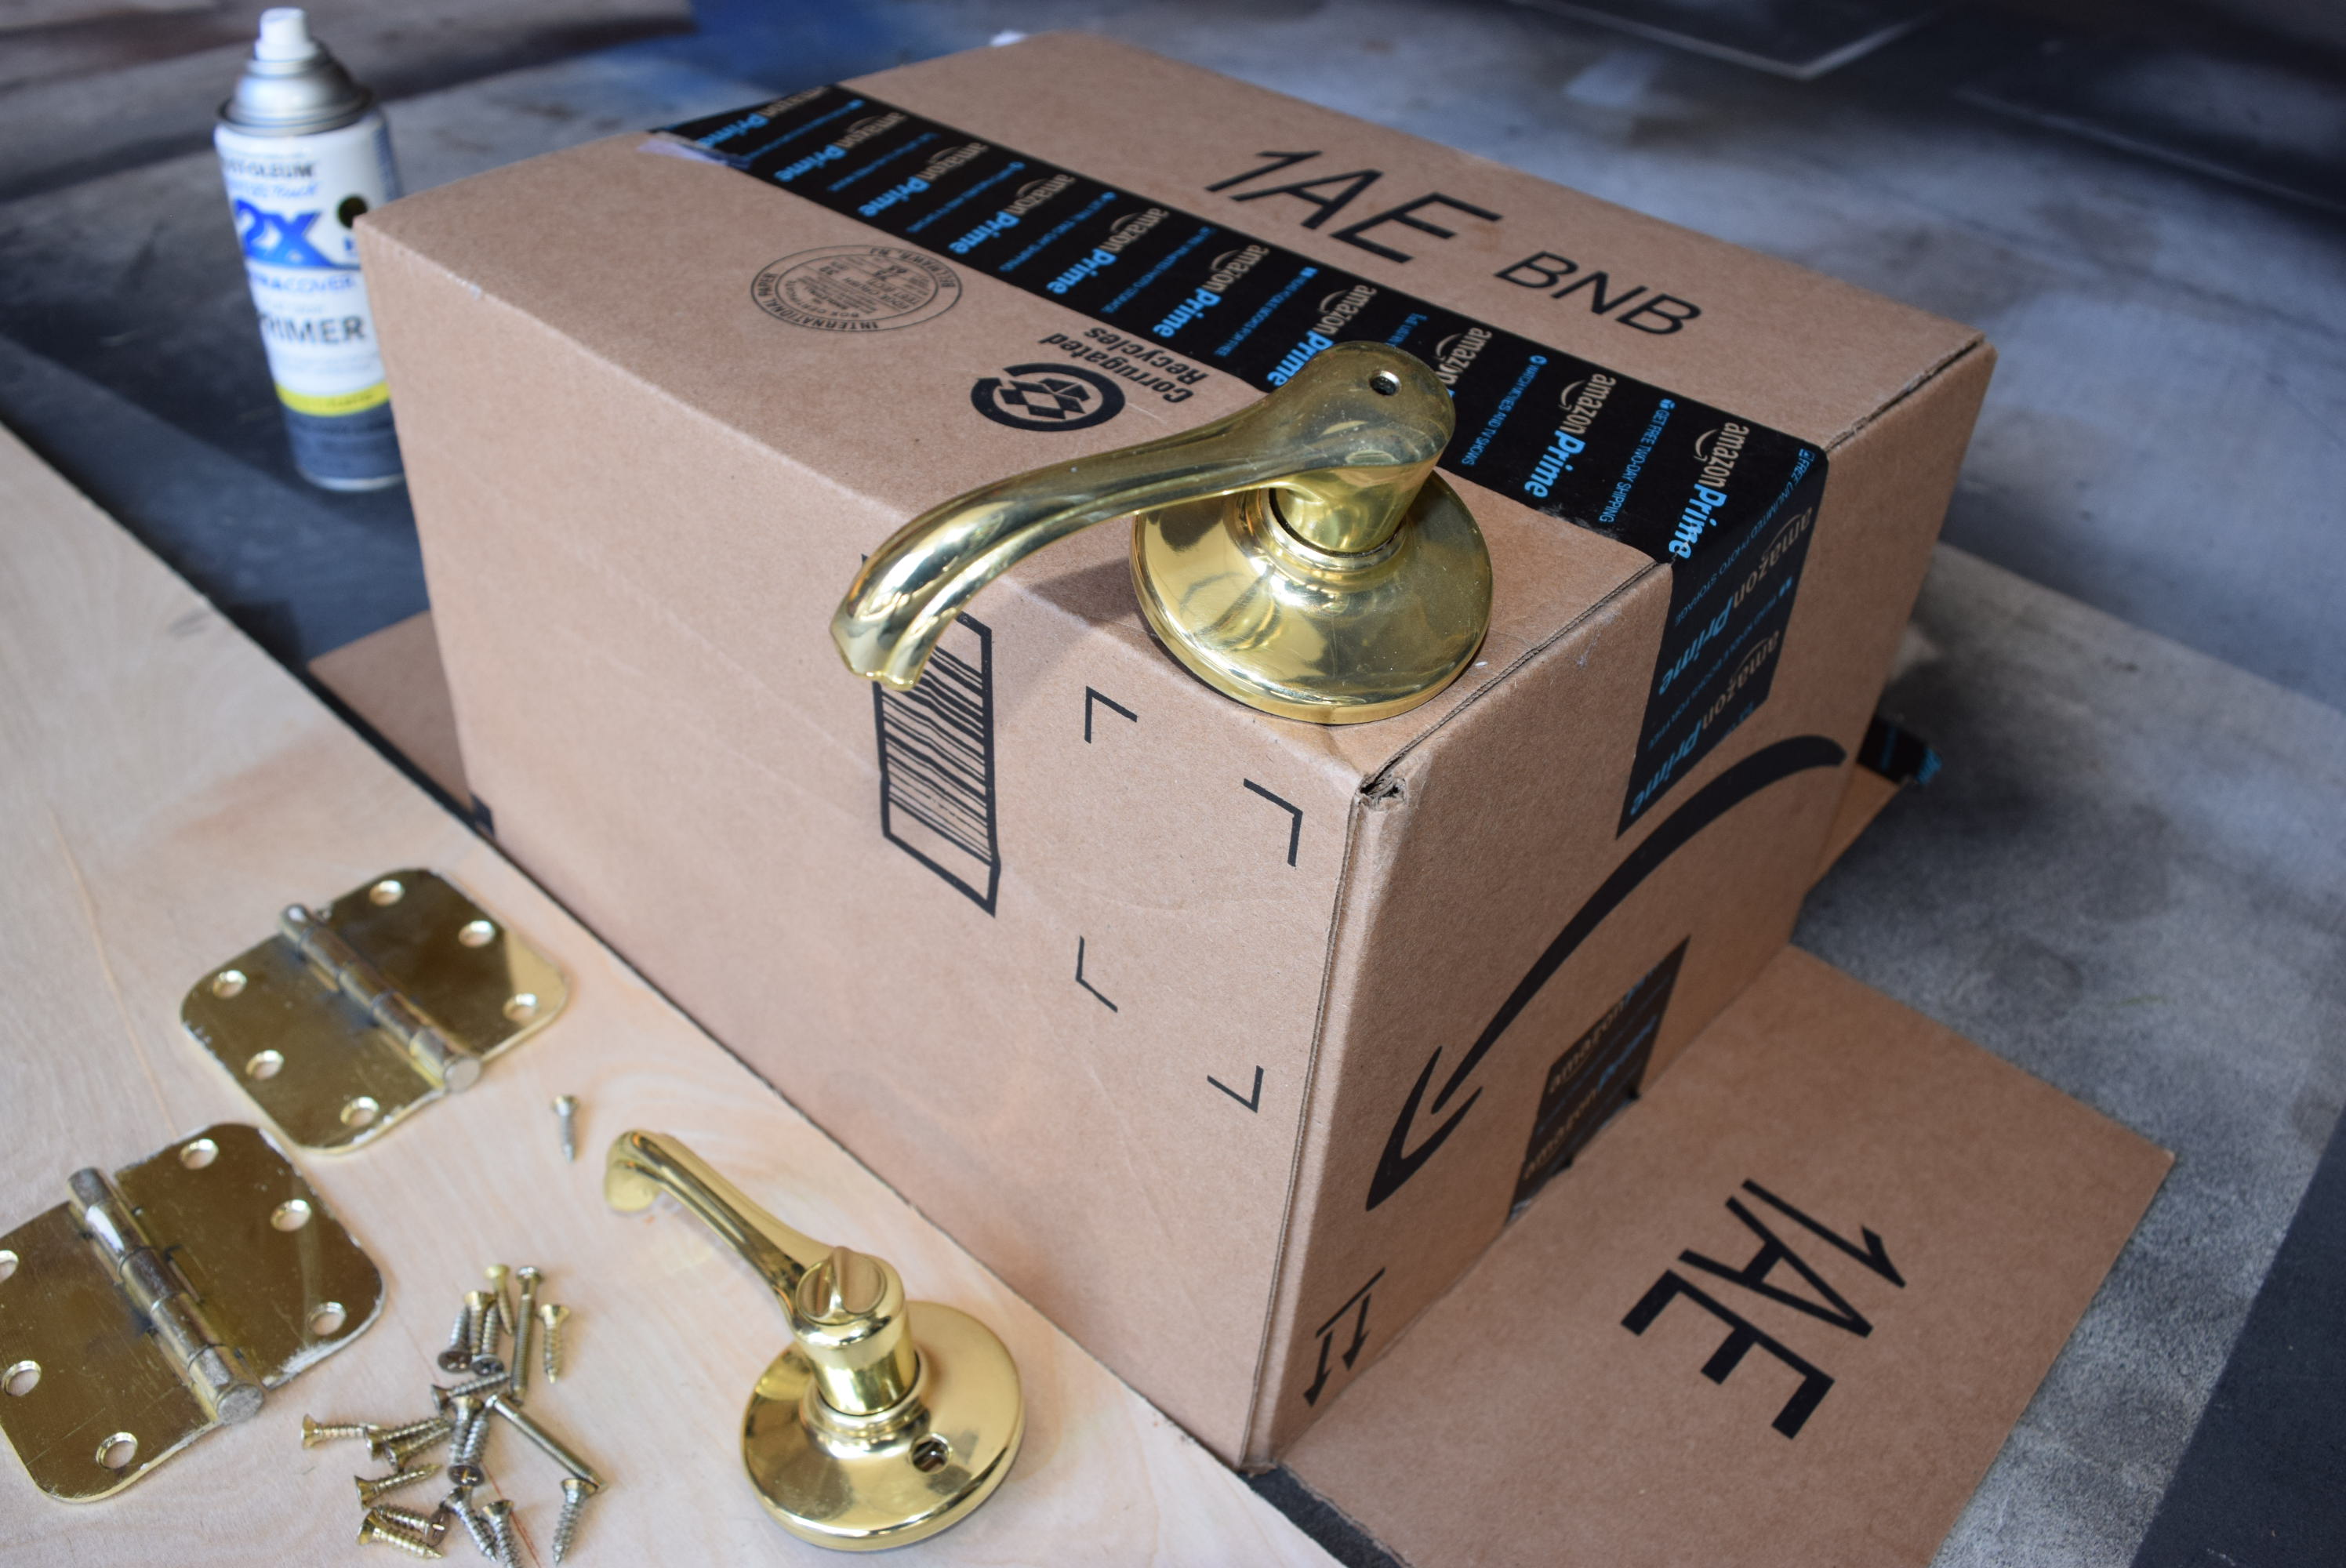
1. Remove the hardware from the door. This can be done with a screwdriver but if you have a ton of doors it may be worthwhile to bust out the electric drill with a screwdriver attachment to make the job go faster. Some people might opt to just do the handles, but it won’t look as complete or cohesive to the discerning eye. I recommend doing the whole shebang: handles, hinges, screws while you have the drill out.
2. Rough up the hardware and get it ready for paint by scouring it lightly with the sand paper.
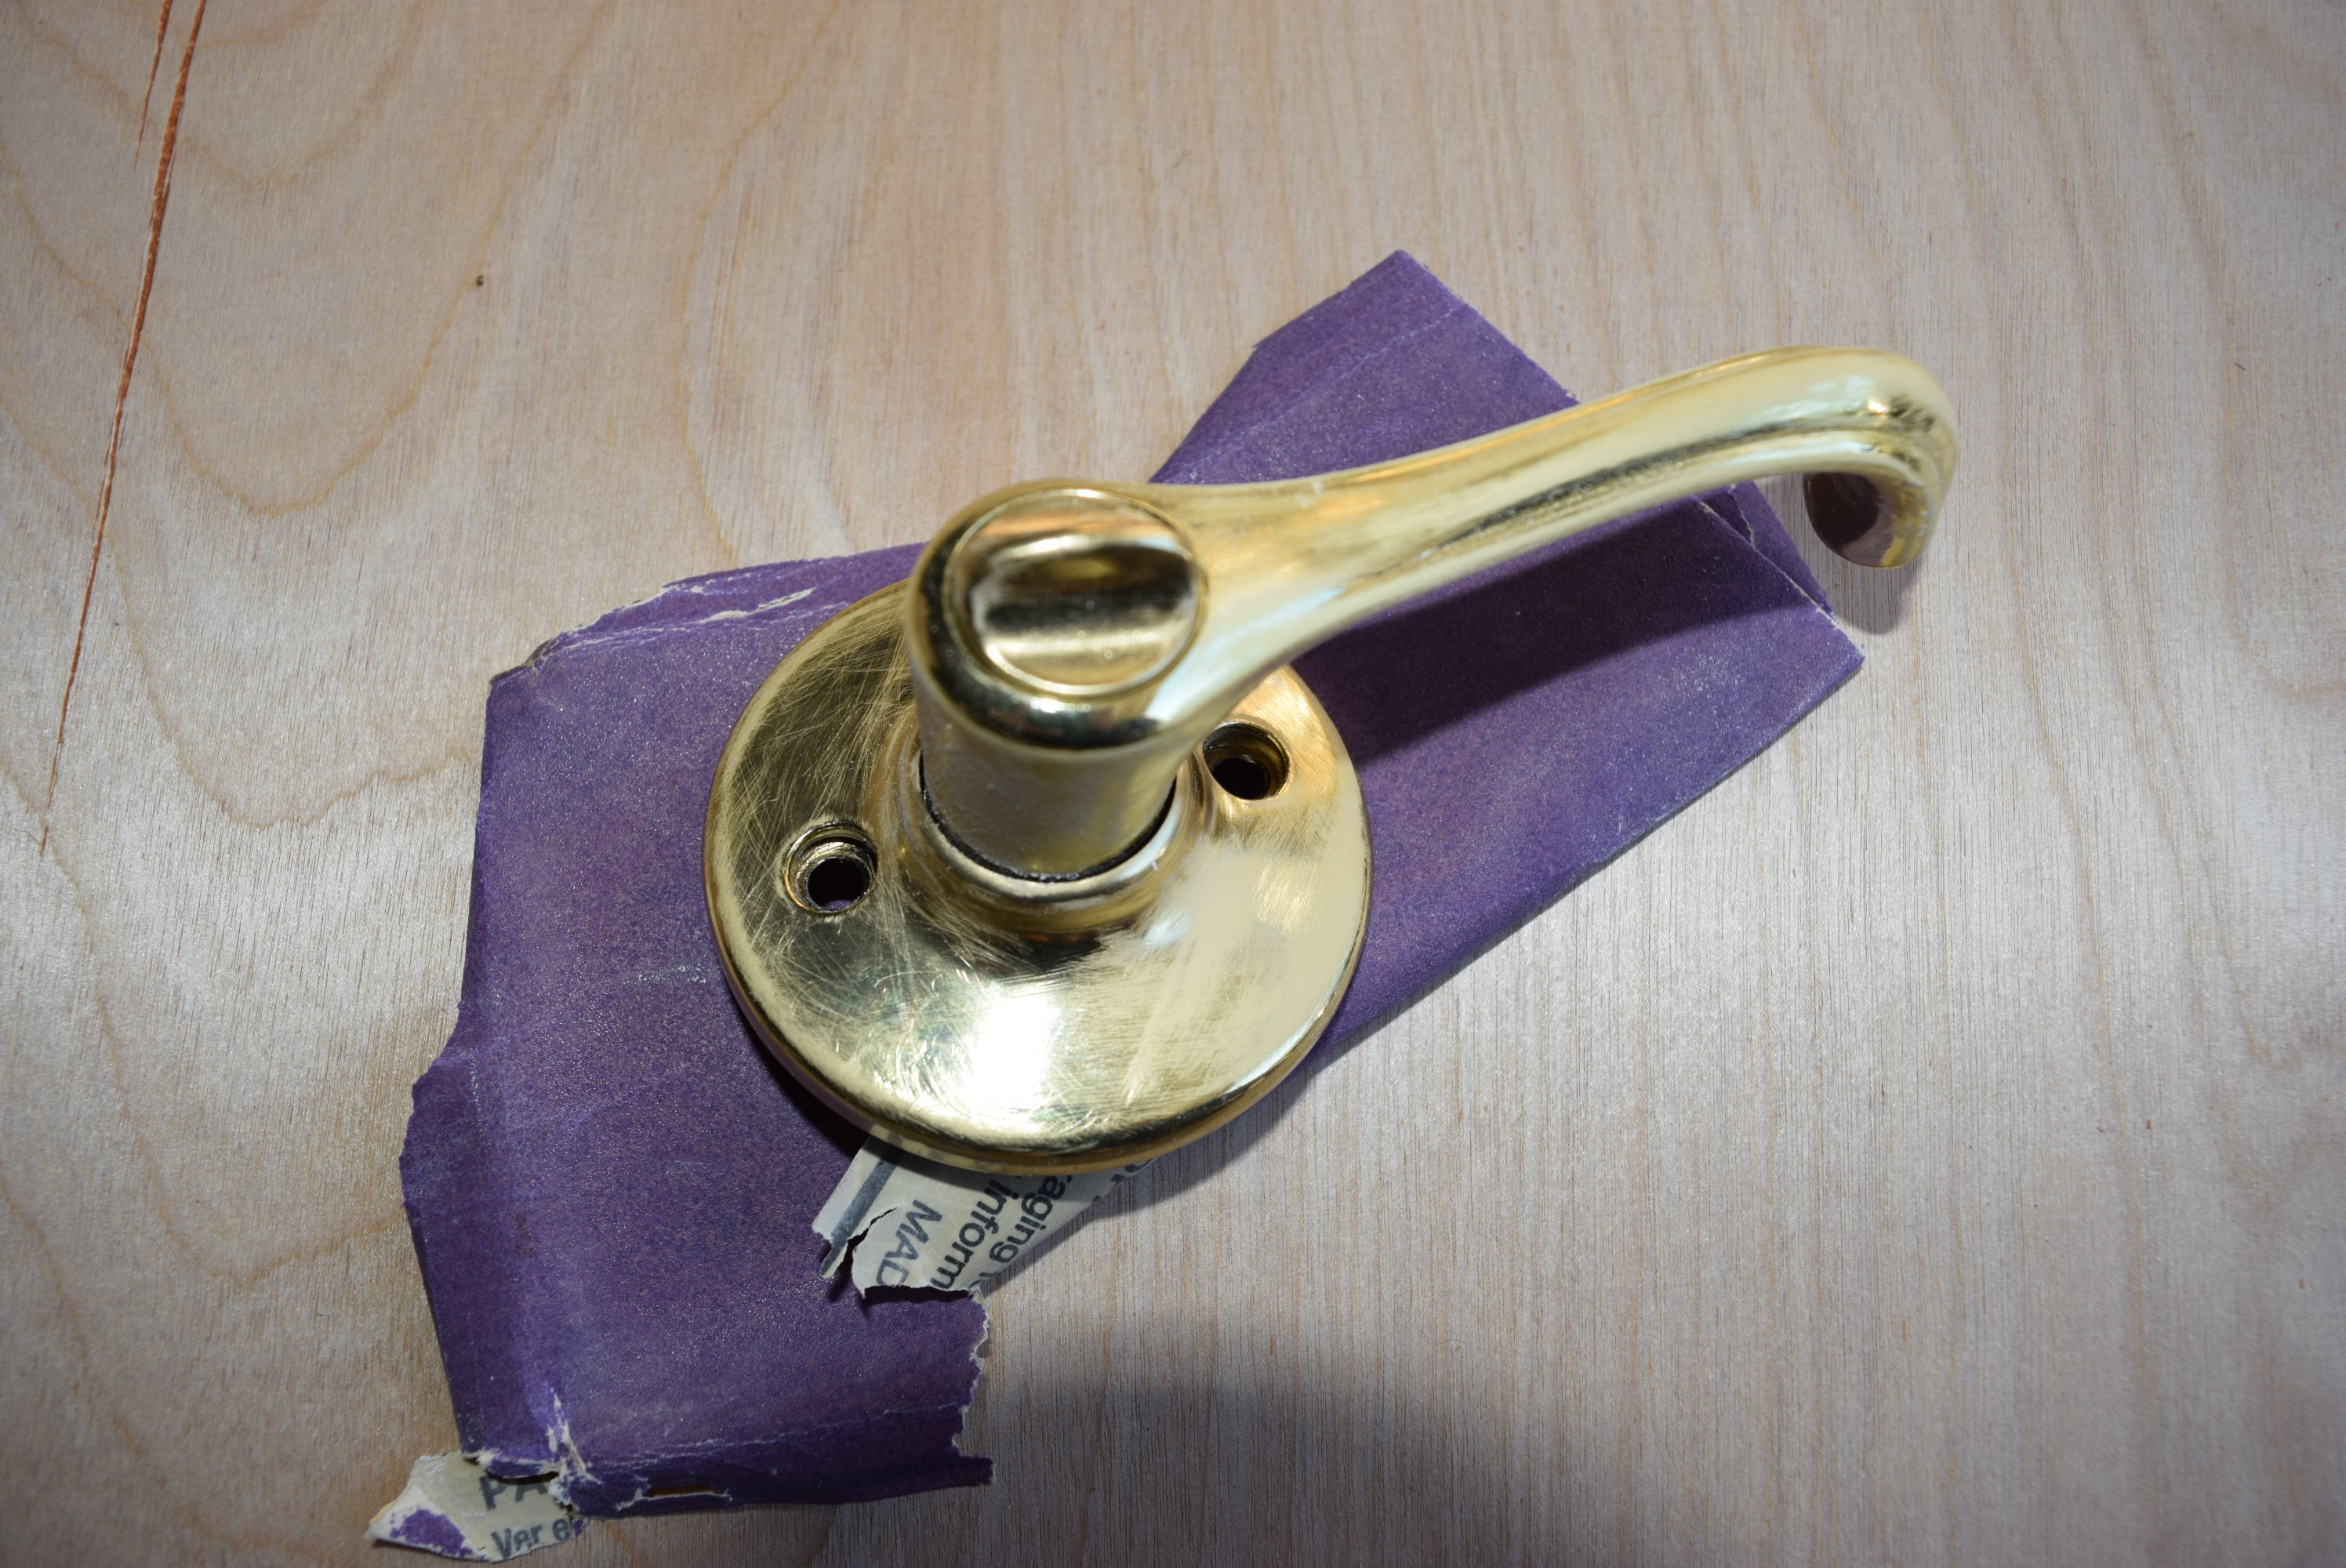
3. With a damp rag, wipe off any sanding dust or residue
4. Prop your hardware up in a way that makes it possible to spray the entire handle at once. I chose to take the prongs that go through the inside of the door and inserted them into a cardboard box so that the handles were standing up. As for hinges, I laid them flat and after one side was dry, flipped them over.
5. Coat your hardware with primer following the directions on the can.
6. After allowing sufficient time to dry, apply one coat of paint, allow to dry and repeat with another coat. I found that one coat of primer and 2 coats of paint worked best for my hardware.

7. After it is completely dry, rehang the hinges and hardware.
8. Marvel at your handiwork and how you were able to beat the crappy builder grade brass for a fraction of the cost!